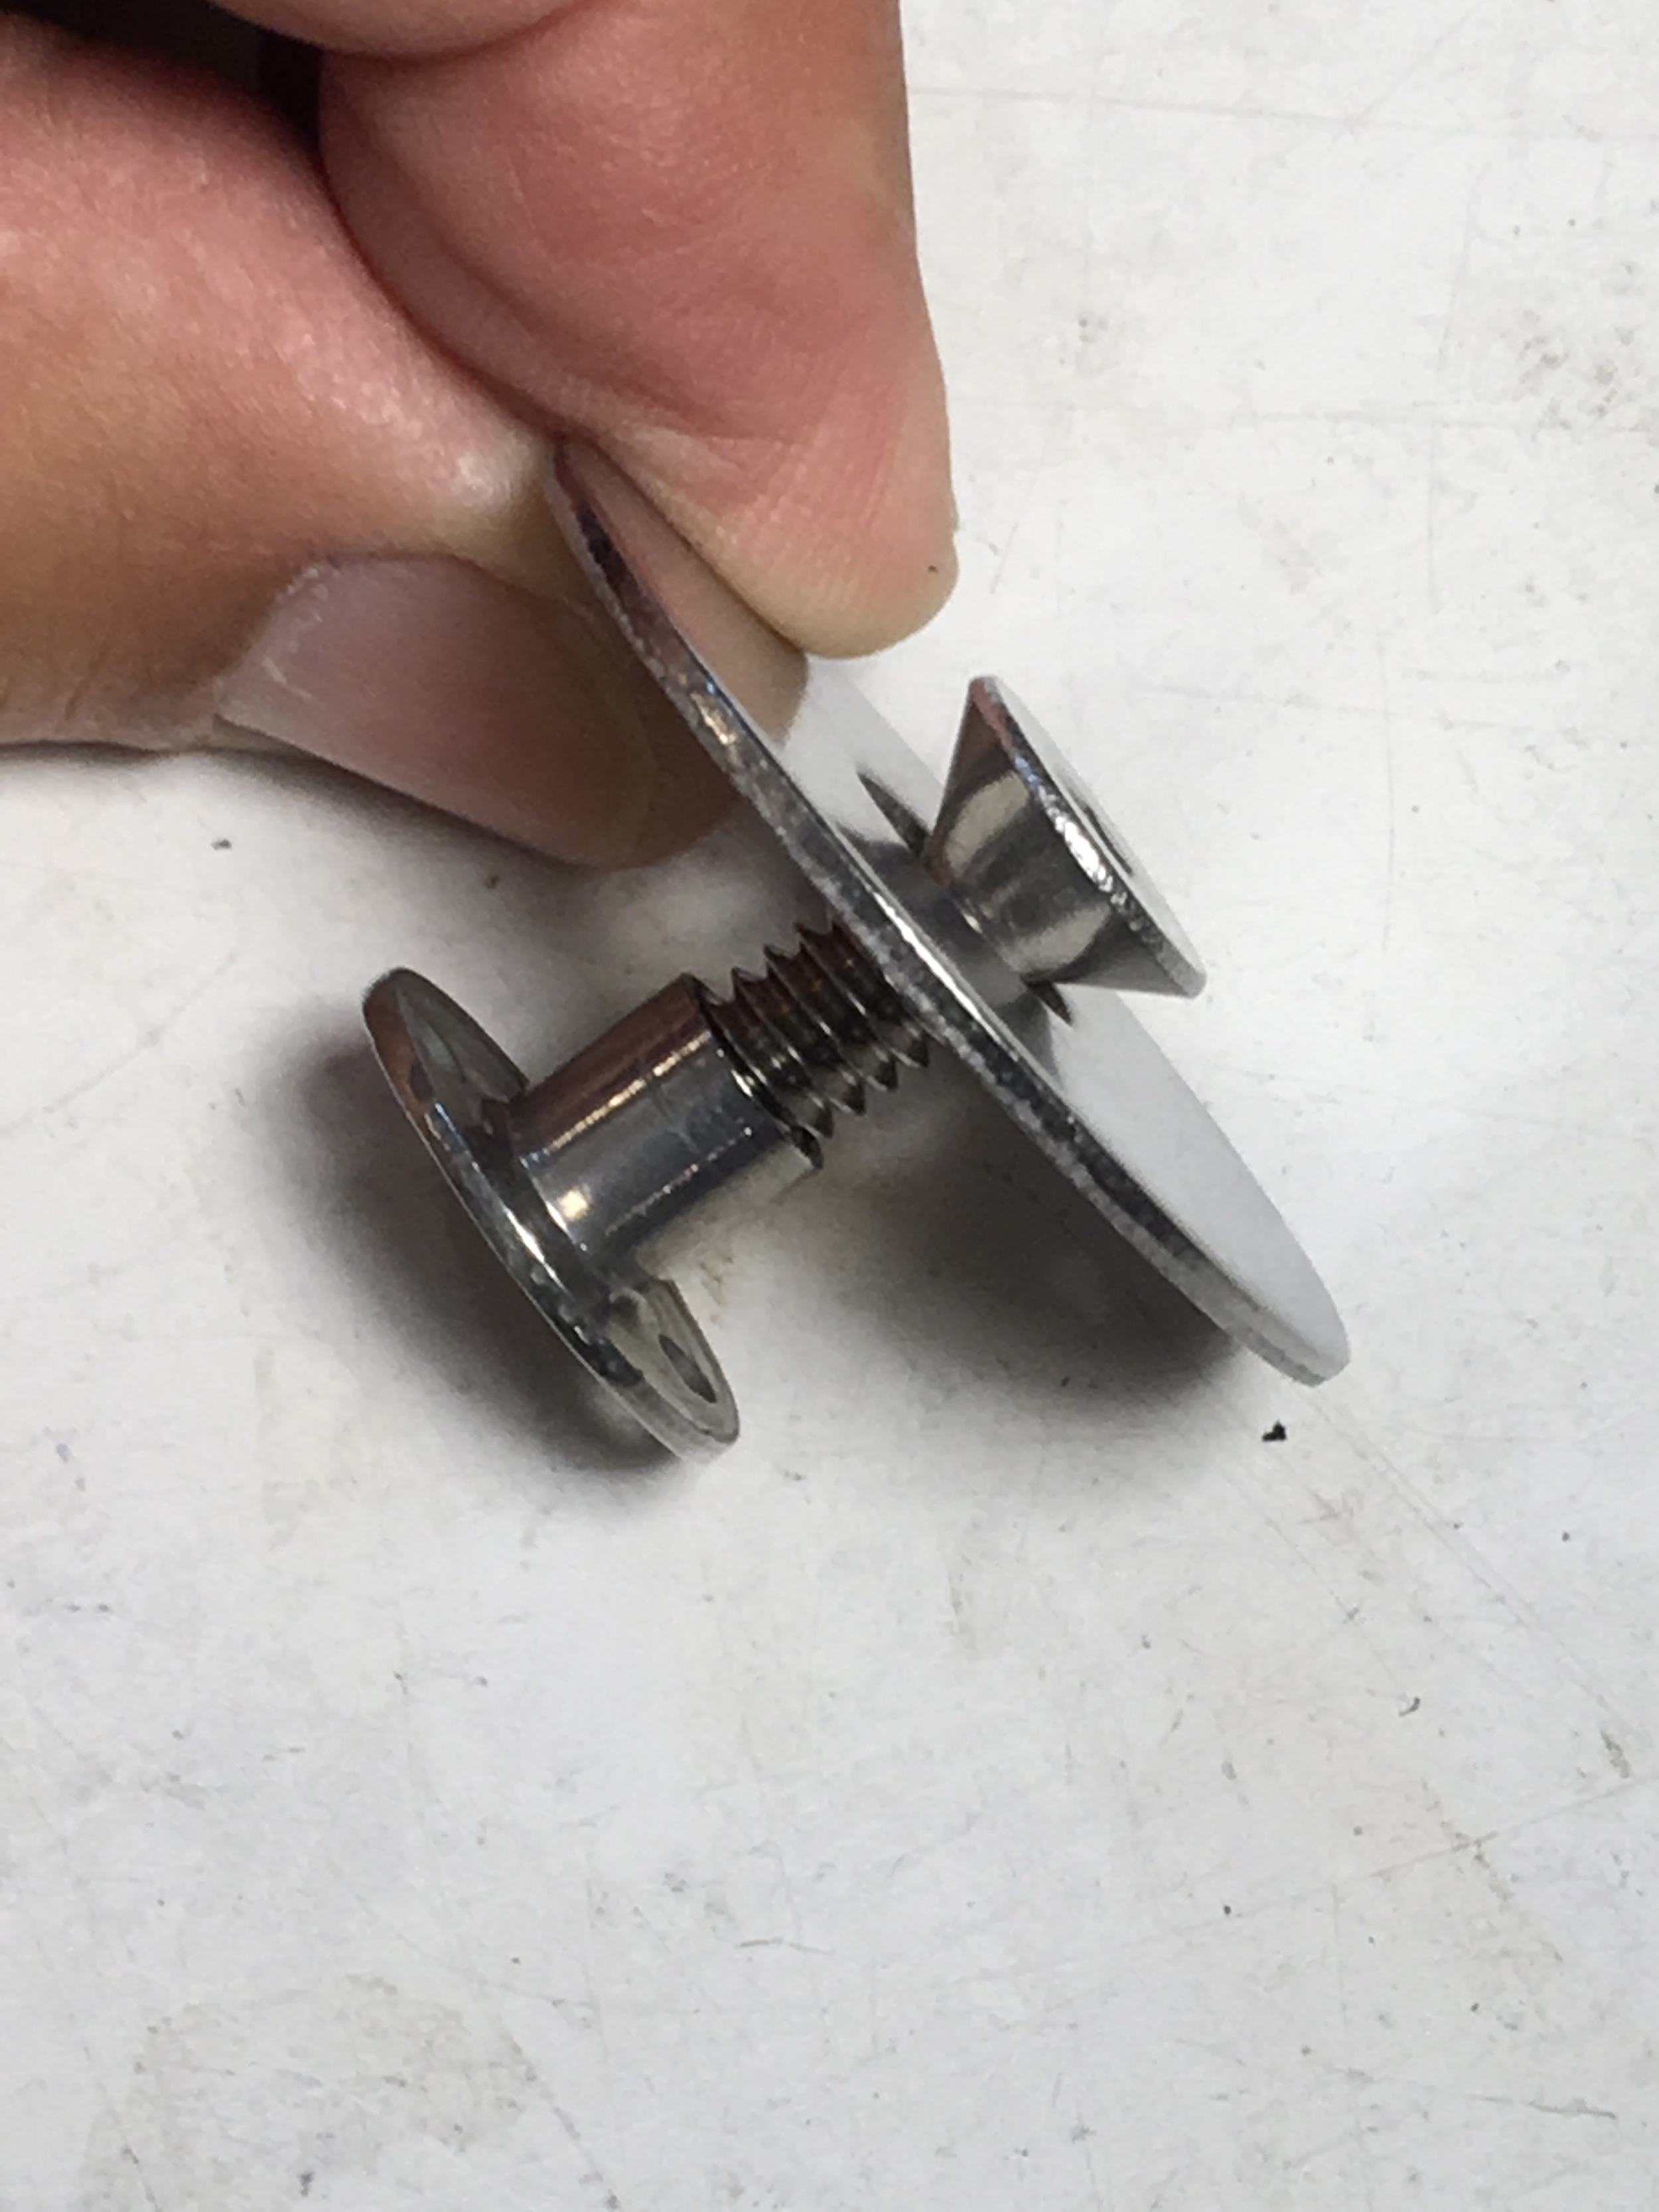
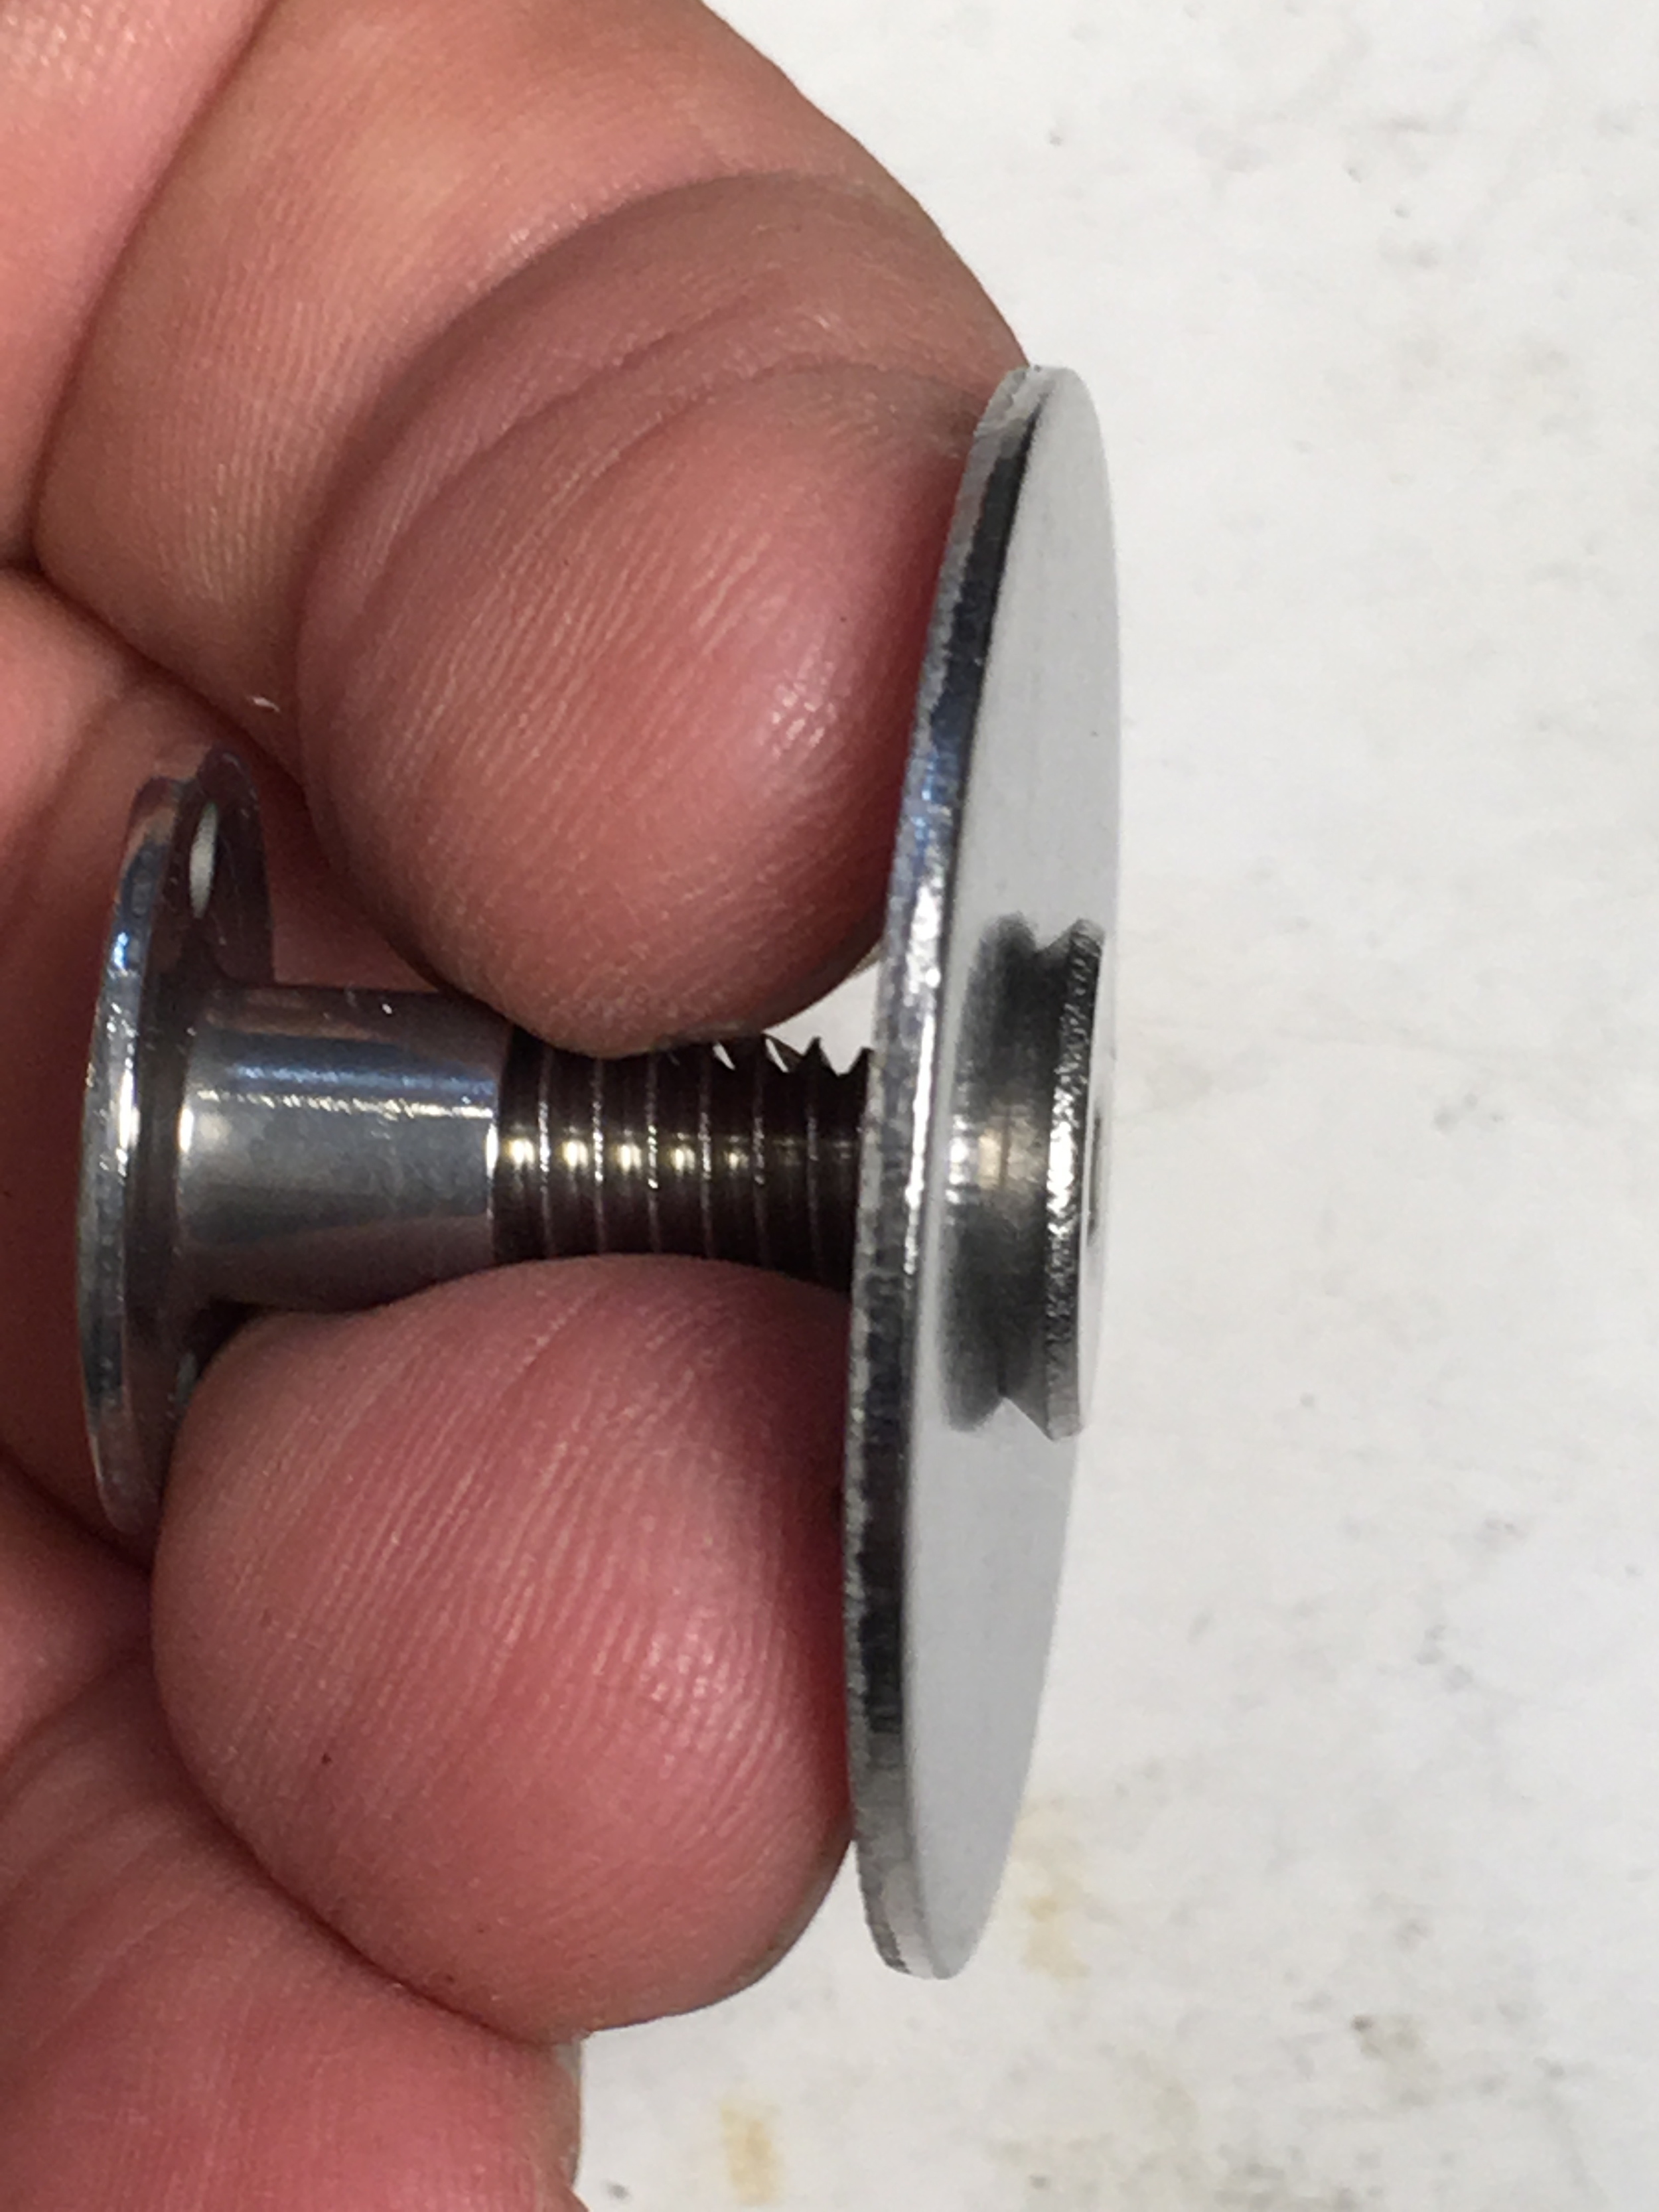
The base setting for the release tension is set as shown. This corresponds to approximately 60 ft/lbs of torque. One-half turn increases or decreases the tension by about 6 ft/lbs.
MOB System Adjustment Chart
WARNING: MOB System Releases are designed for use by advanced skiers! Setting and maintaining the correct release tension is the skier’s responsibility! This chart is a guide for initial setup and will require adjustment based on each skier's style and needs.

NOTE: the release is preset to ±60 lbs as shown in the photo. Adjust screw ½ turn at a time to increase or decrease 6-7 ft/lbs.
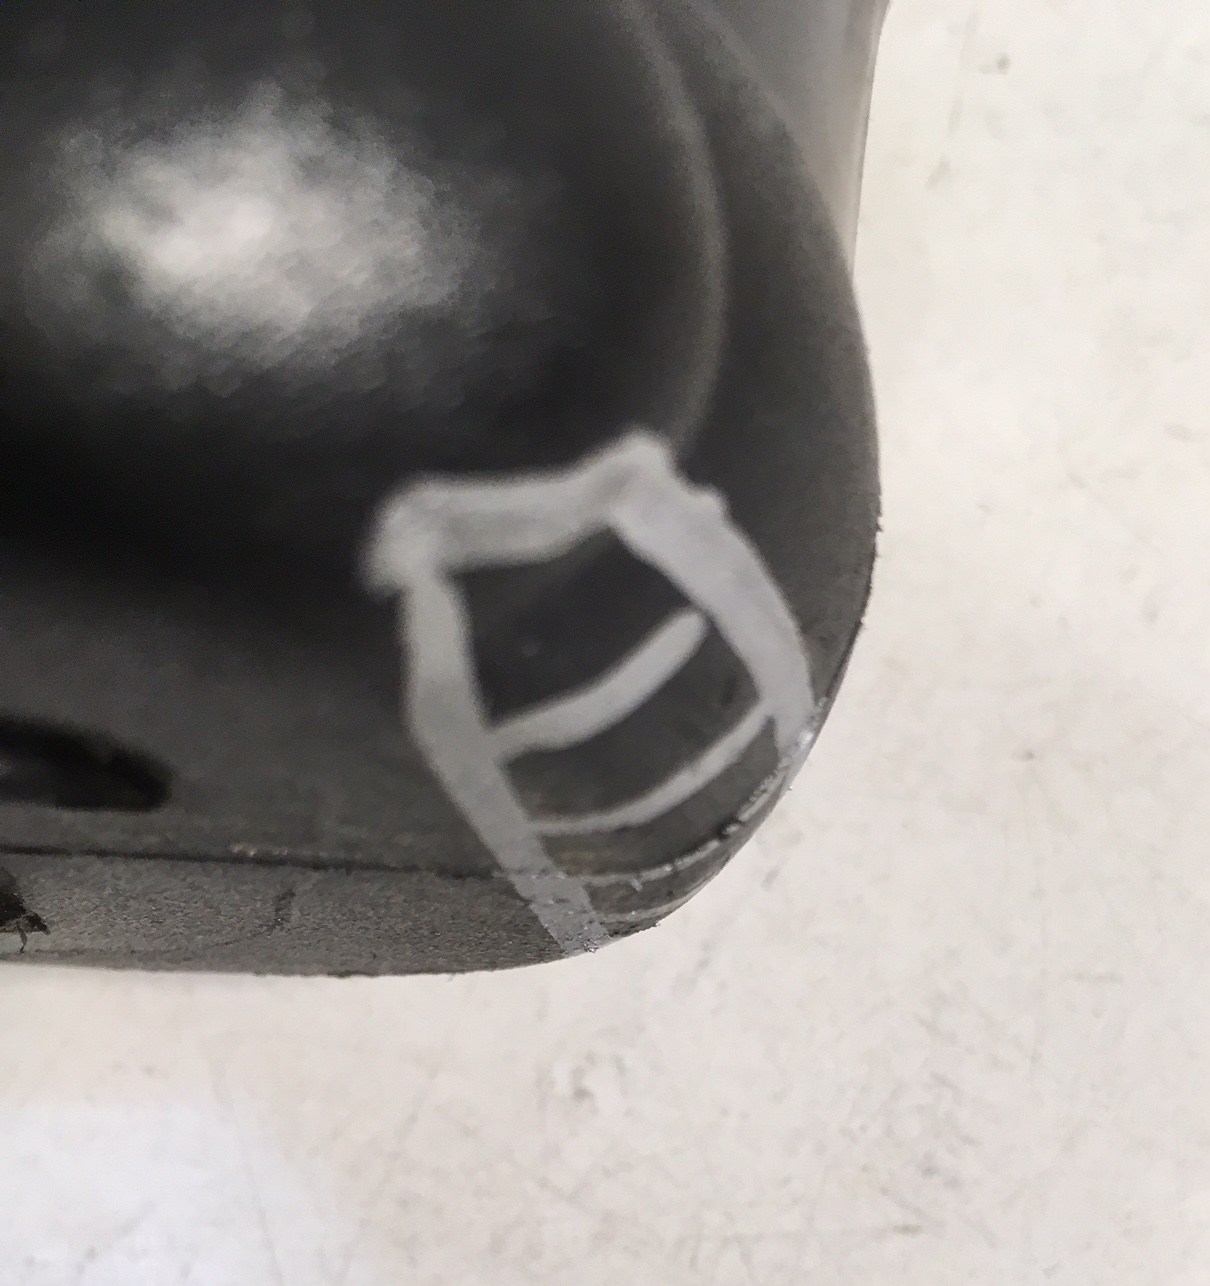
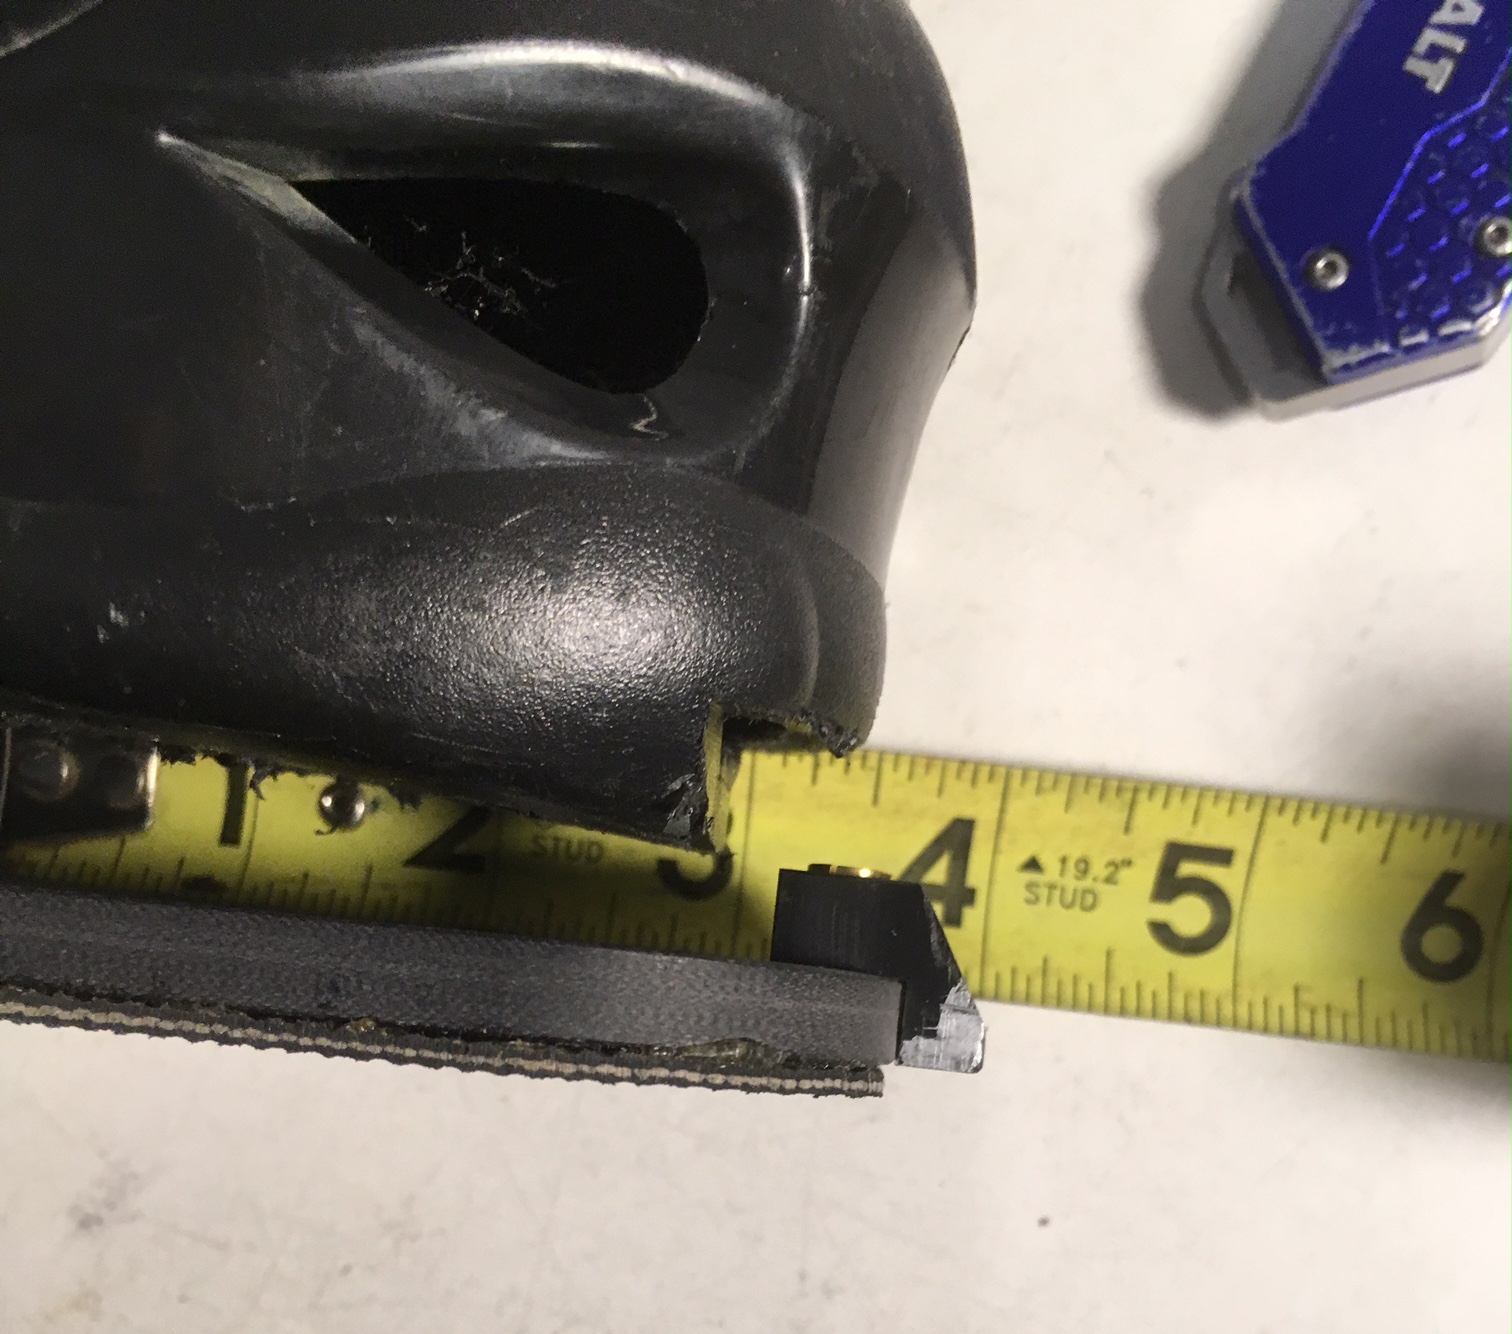
NOTE: skier should visually indentify and note the setting mark on the dial for reference before making any adjustments to the tension adjustment screw. Caliper measurements are used to verify settings.
NOTE: Please contact the MOB for release setting on Jump skis.
Step 1. Determine the type of skier from one of the following groups:
· Type A. Cautious skiing at lighter release setting, narrower margin of retention in order to gain a wider margin of release.
· Type B. Average to moderate skiing at average release/retention setting, balanced release and retention setting.
· Type C. Aggressive, high speed or shortline skiing at higher release/retention settings, a narrower margin of release in order to gain a wider margin of retention.
Step 2. Find the release code (letter G thru O), which corresponds to the skier’s weight, as well as the release code, which corresponds with the skier’s height. If they are not the same, choose the one closer to the top of the chart.
EXAMPLE: if the skier’s weight is 170 lbs. (code K), and the height is 6’1” (code L), choose code K as the correct line of the chart to read.
Step 3. Make an adjustment for the skier’s type and age. The selection from step 2 is for a Type A skier. If the skier type is Type B move down the chart one code. If the skier type is Type C move down the chart two codes. If the skier is age 50 or over, move up one code.
Step 4. The spring tension has been preset to the ‘K’ setting (±60 ft/lbs.). Adjust to the desired release tension reference setting by rotating the adjustment screw clockwise to increase by 6-7ft/lbs. per half turn or counterclockwise to reduce by 6-7ft/lbs. You can test the release pressure as shown in the ‘setting the release tension’ video by using a torque wrench. Or verify the setting by using the caliper measurement chart.
Mike’s Overall Binding © Sept 2017
Mounting and using Mike’s Overall Binding
Thank you for purchasing your new MOB releasable binding system. Before you begin skiing there are a few things you should know to make your skiing experience both enjoyable and safe.
From the factory, the bindings are set at a standard release setting. Increasing the tension on the spring will increase the amount of retention the system has. This is done by turning the adjuster screw in a clockwise rotation. The more tension the spring has on it, the less likely you will be to be released from your ski in the event of a fall. The degree of retention you will require will depend on your height, weight, and skier ability. Adjustments should be made one quarter of a rotation at a time. Understand, that over tightening the spring could result in the binding not releasing in the event of a fall, leading to injury. However, too low of a tension setting could cause the boot to release unexpectedly. In the event of an unexpected release, increase the tension one full turn before resuming skiing. You can use the caliper settings to verify the release settings.
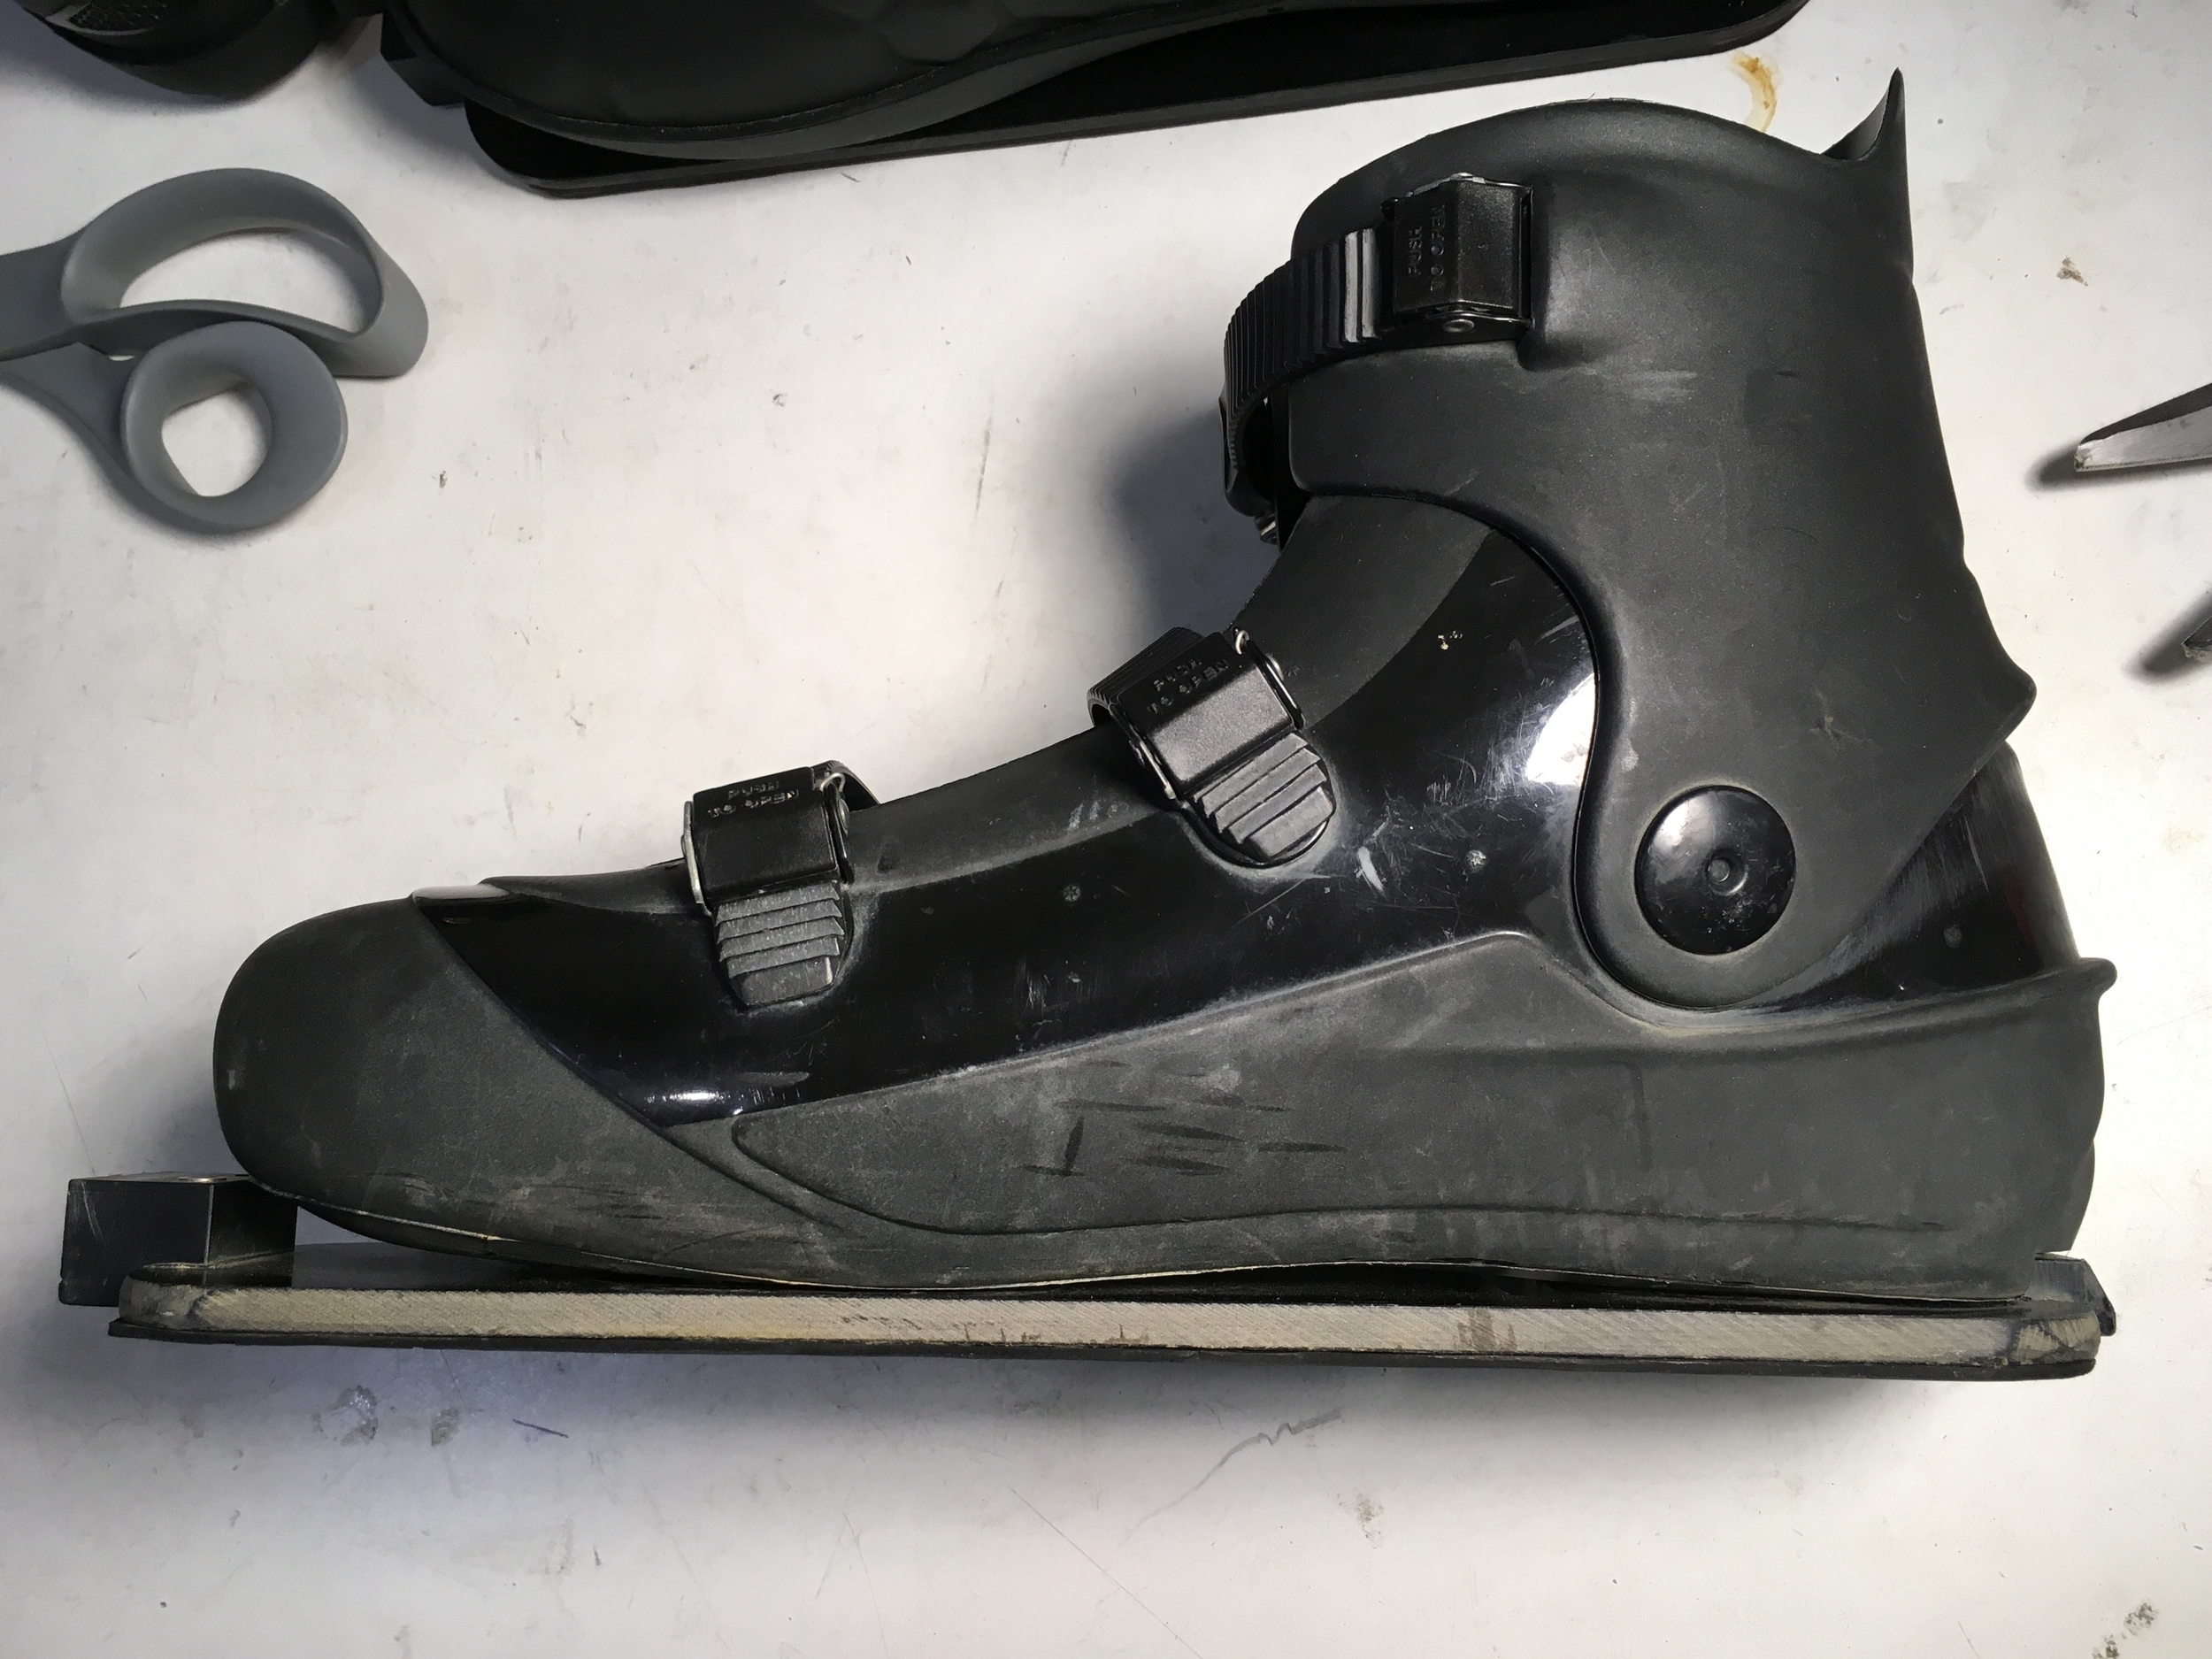
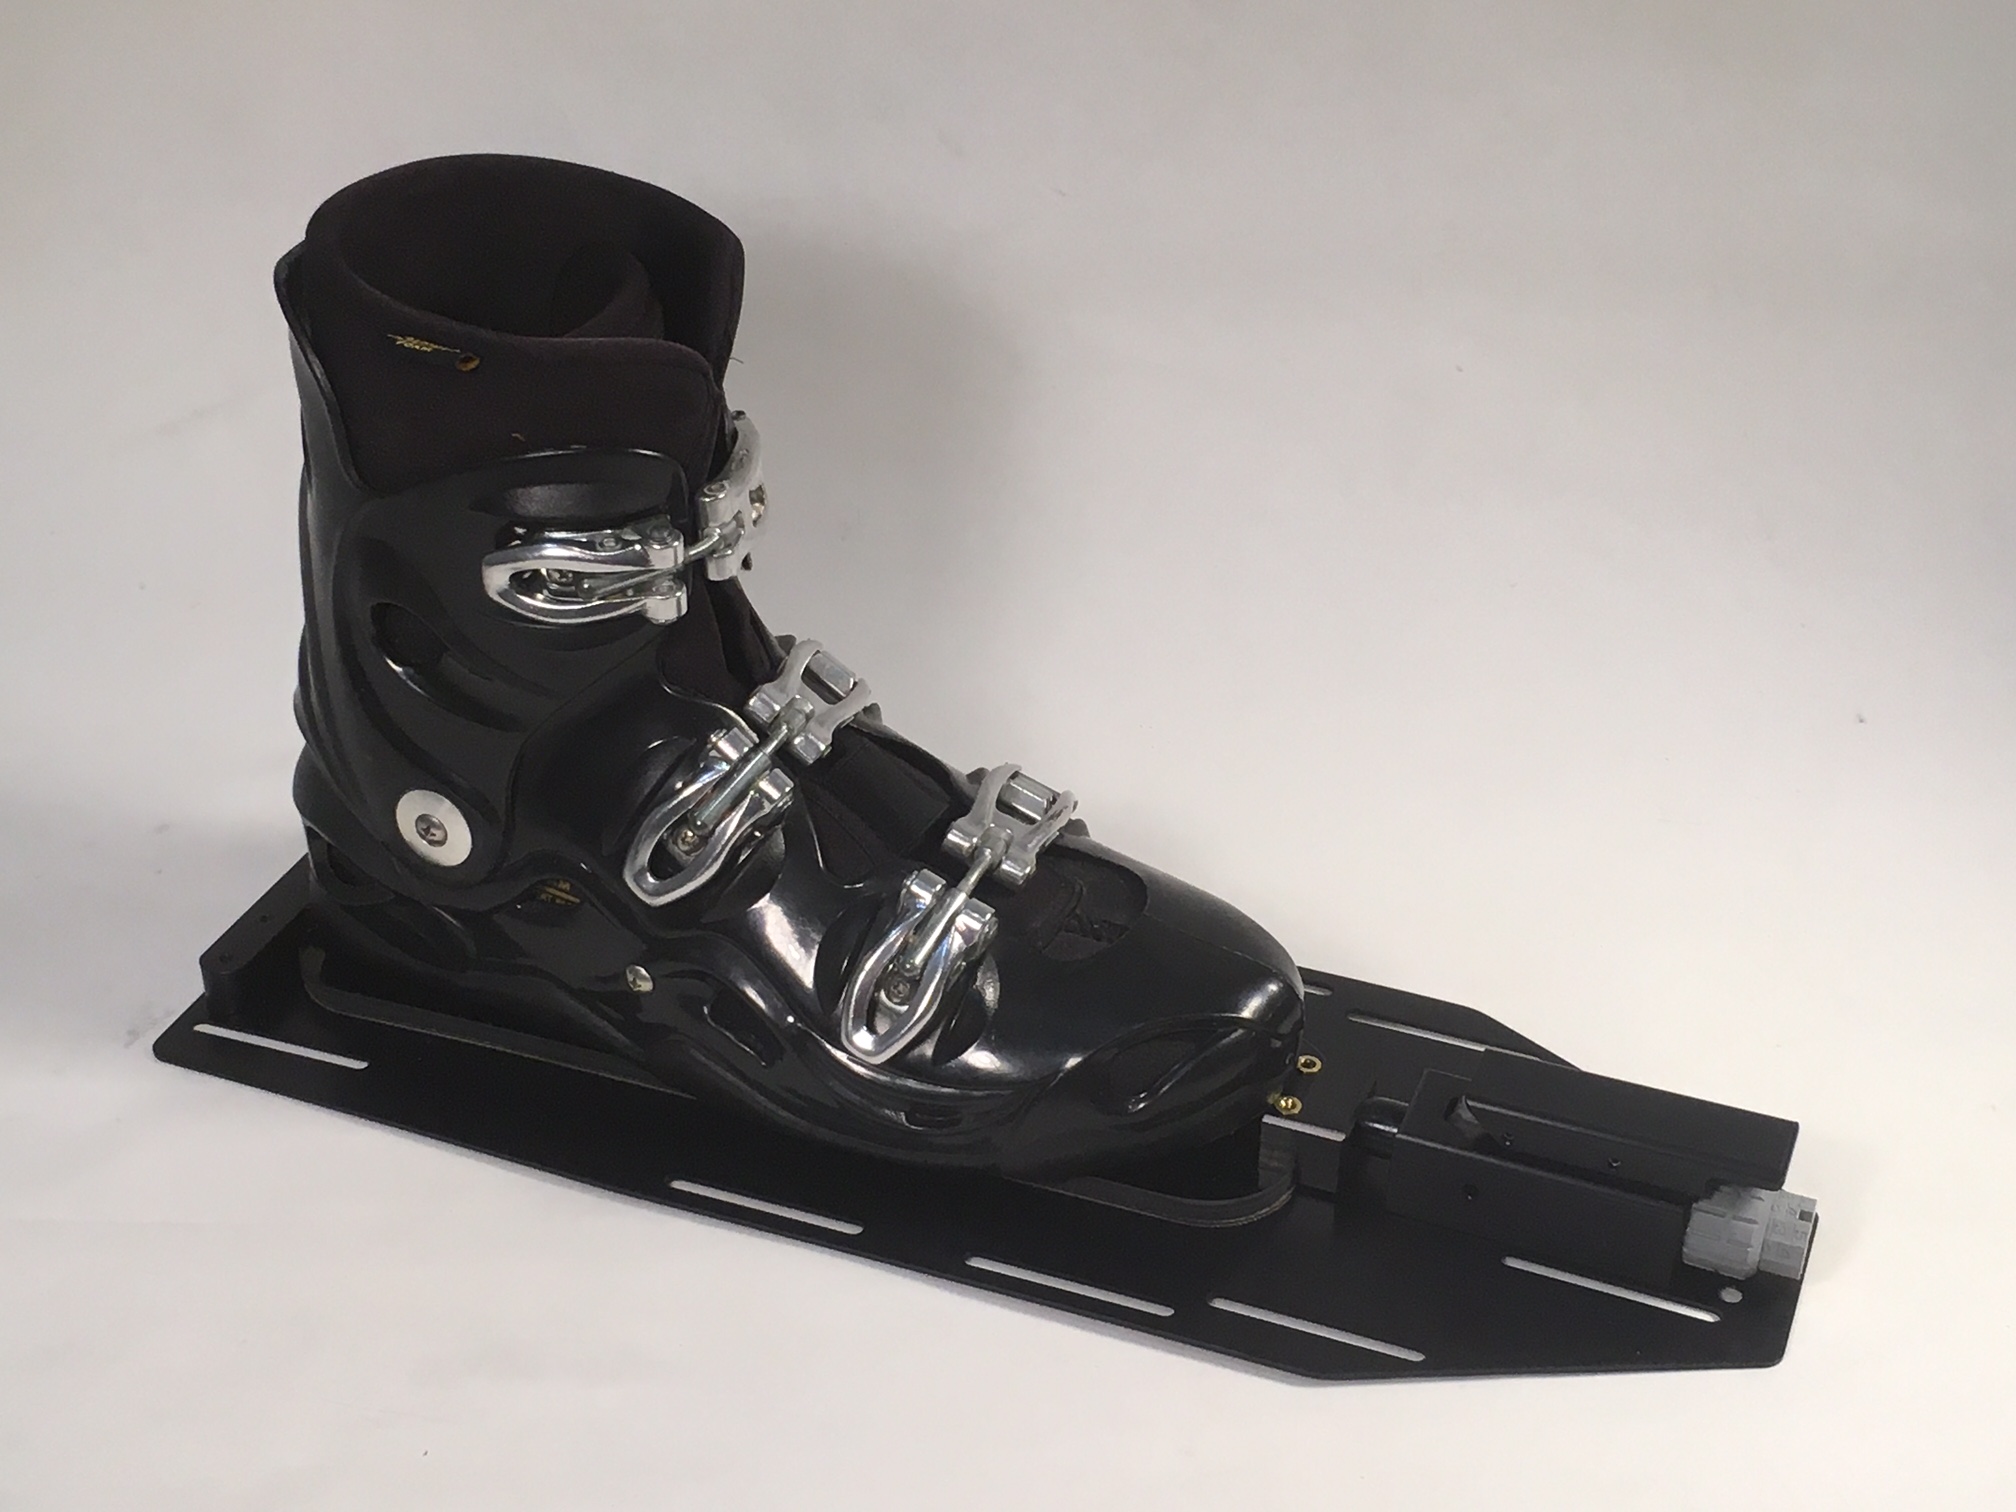
If you are new to hard-shell boots, you will experience increased lateral control that will take some getting used to. You should not expect to go out and ski exactly as you have before. To get used to skiing with hard-shell boots, it is best to ski narrow on the boat and make slow smooth turns to avoid overturning the ski. Take it slow, think “easy”, and soon you will have more control over your ski than ever before.
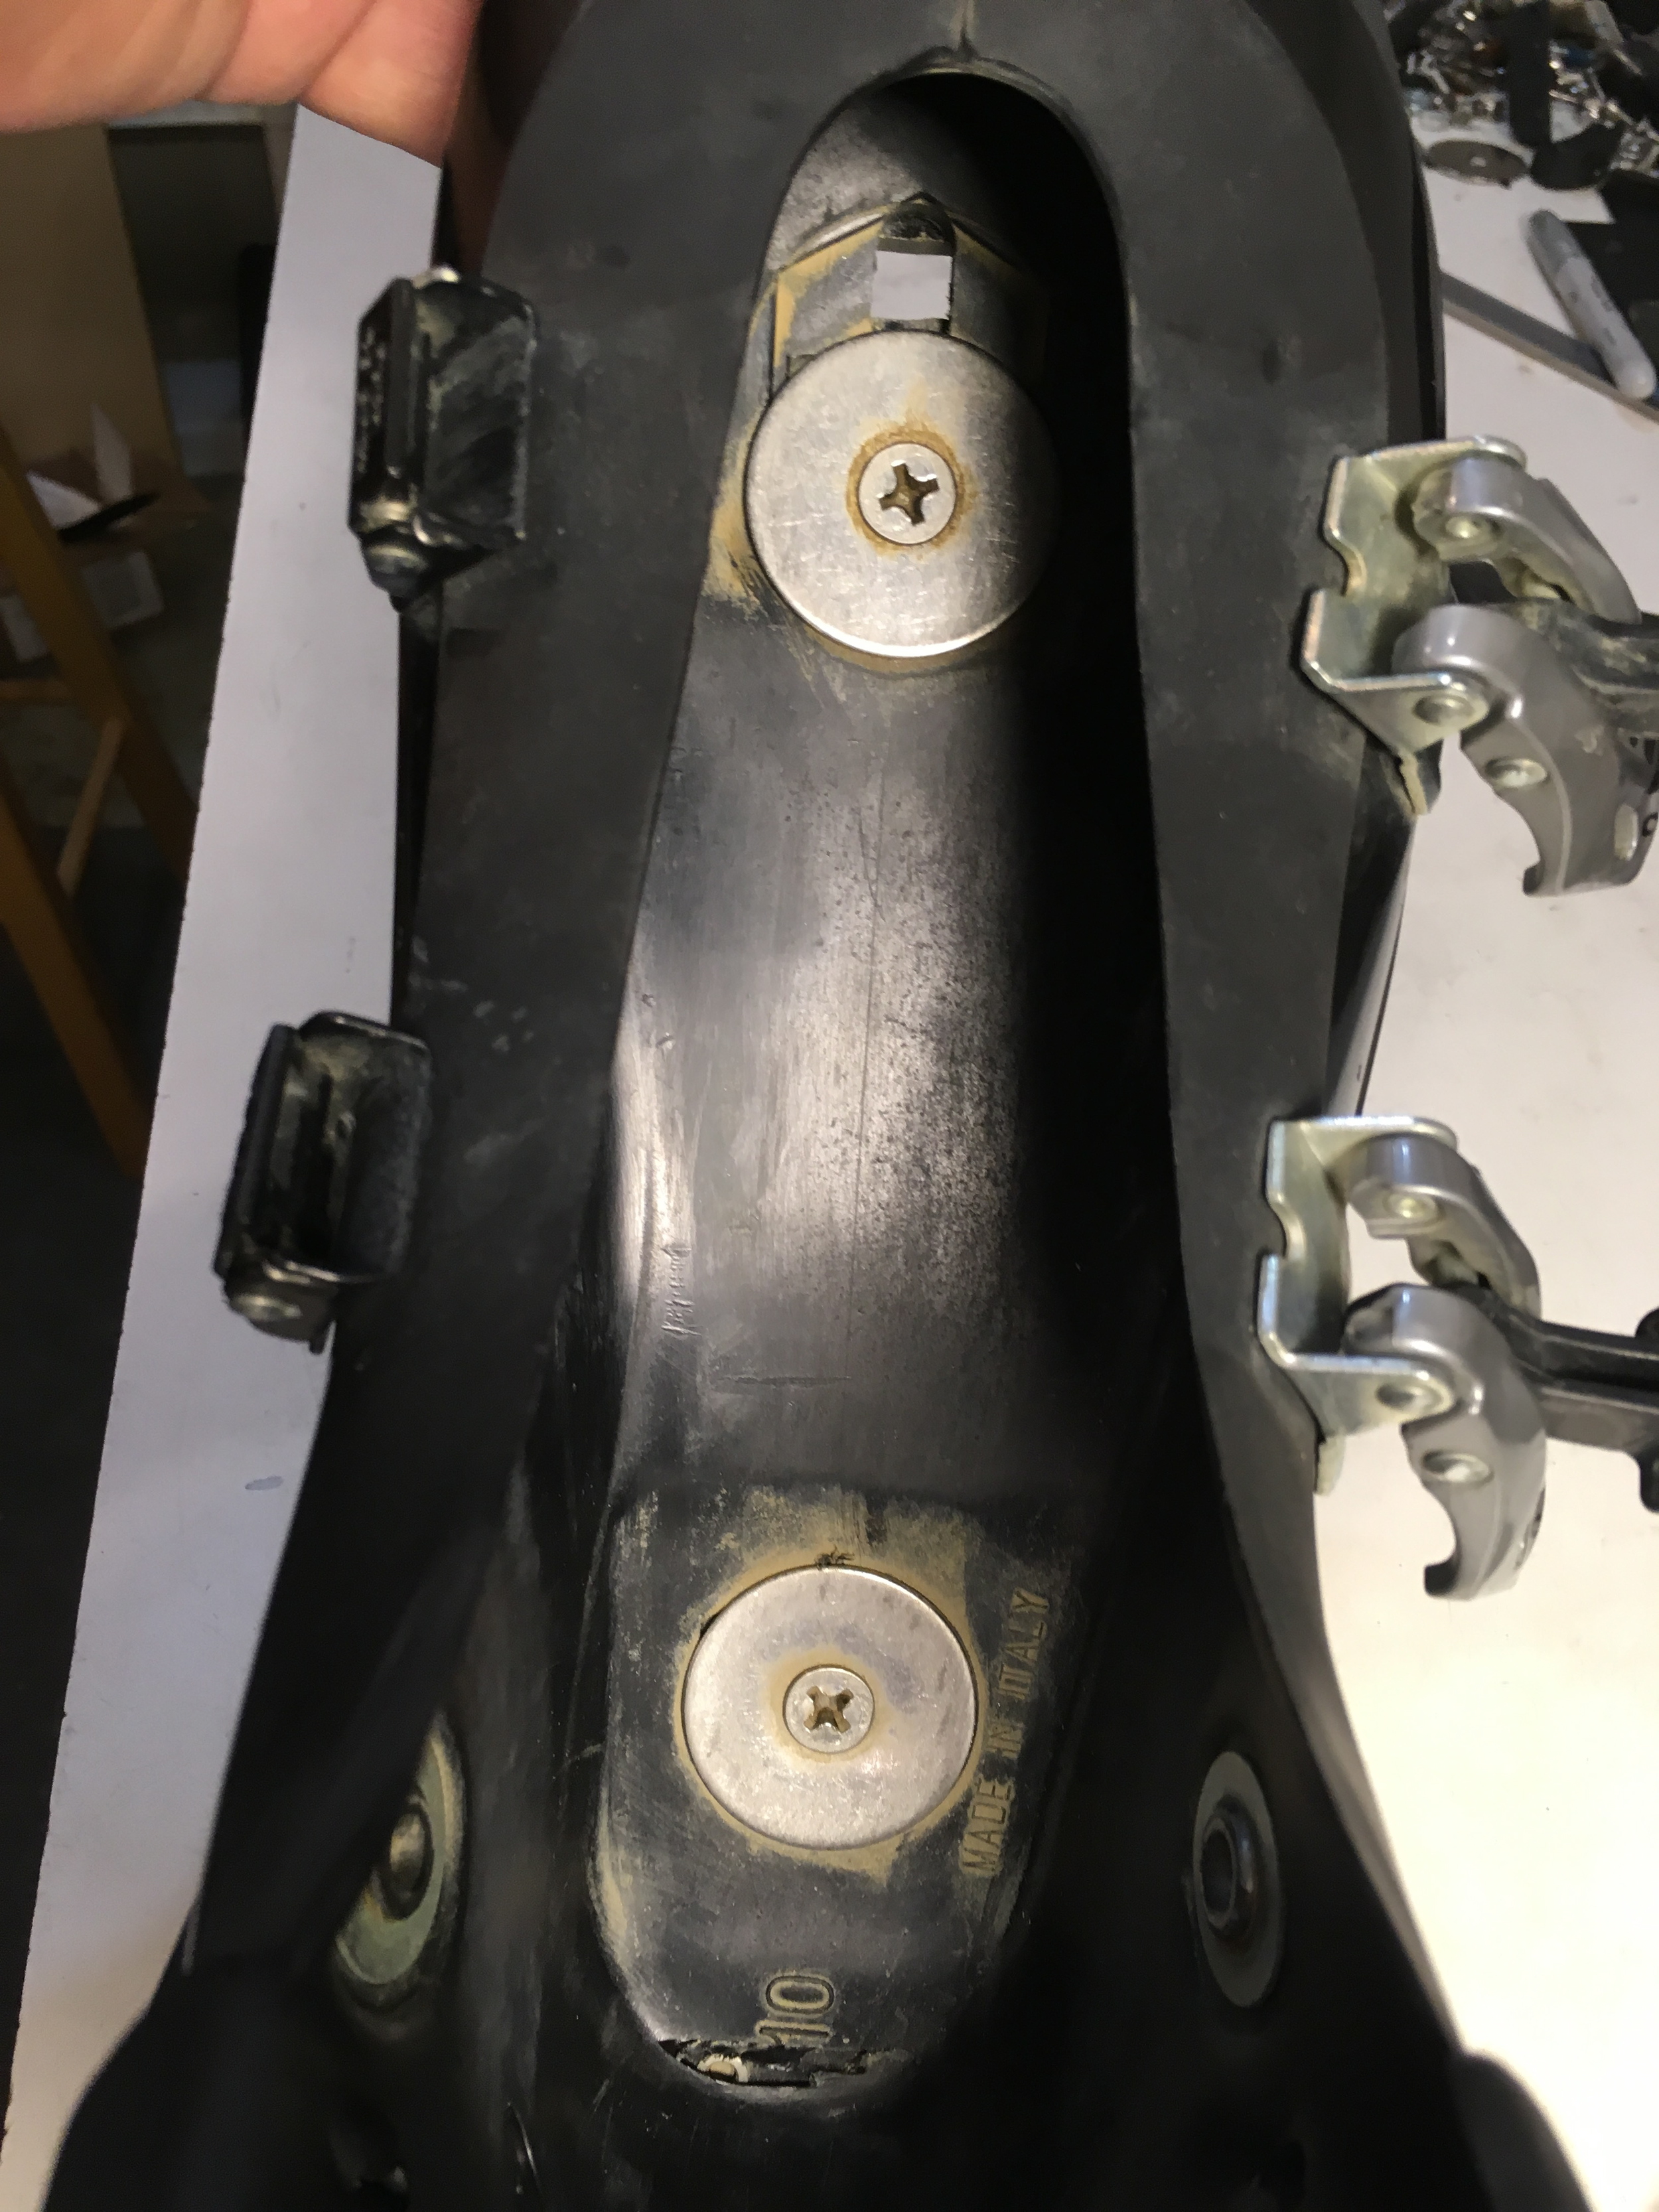
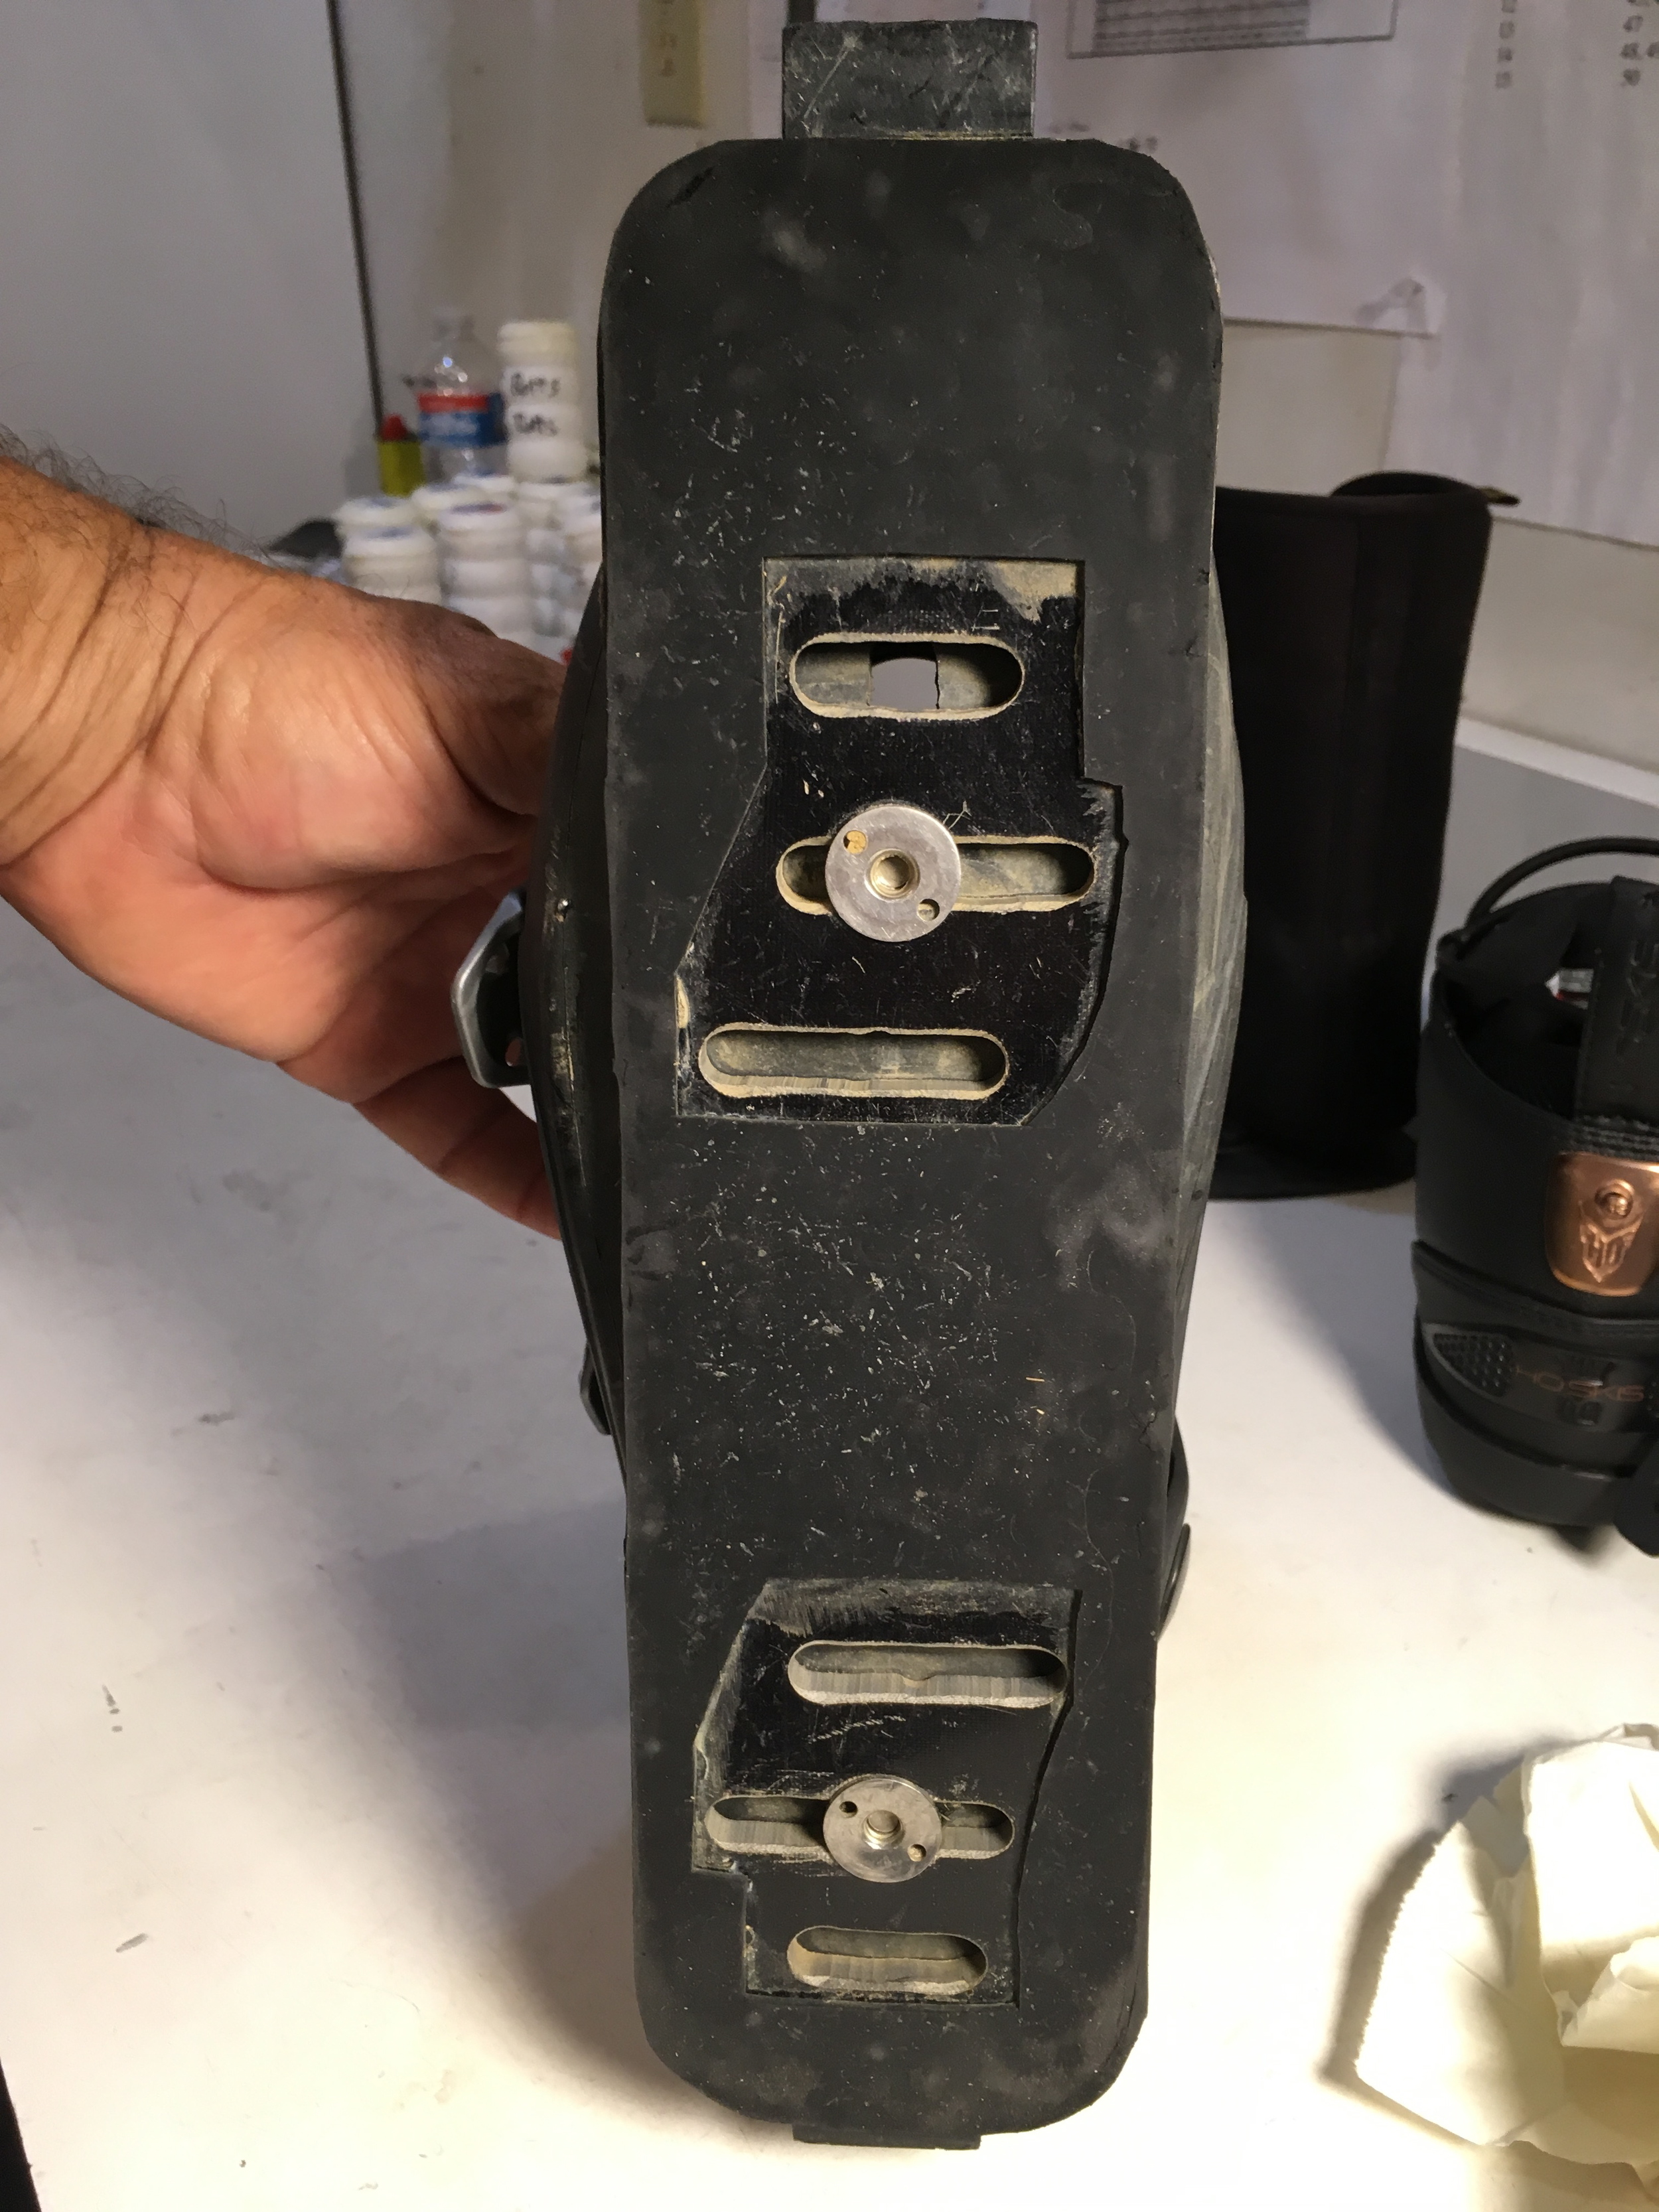
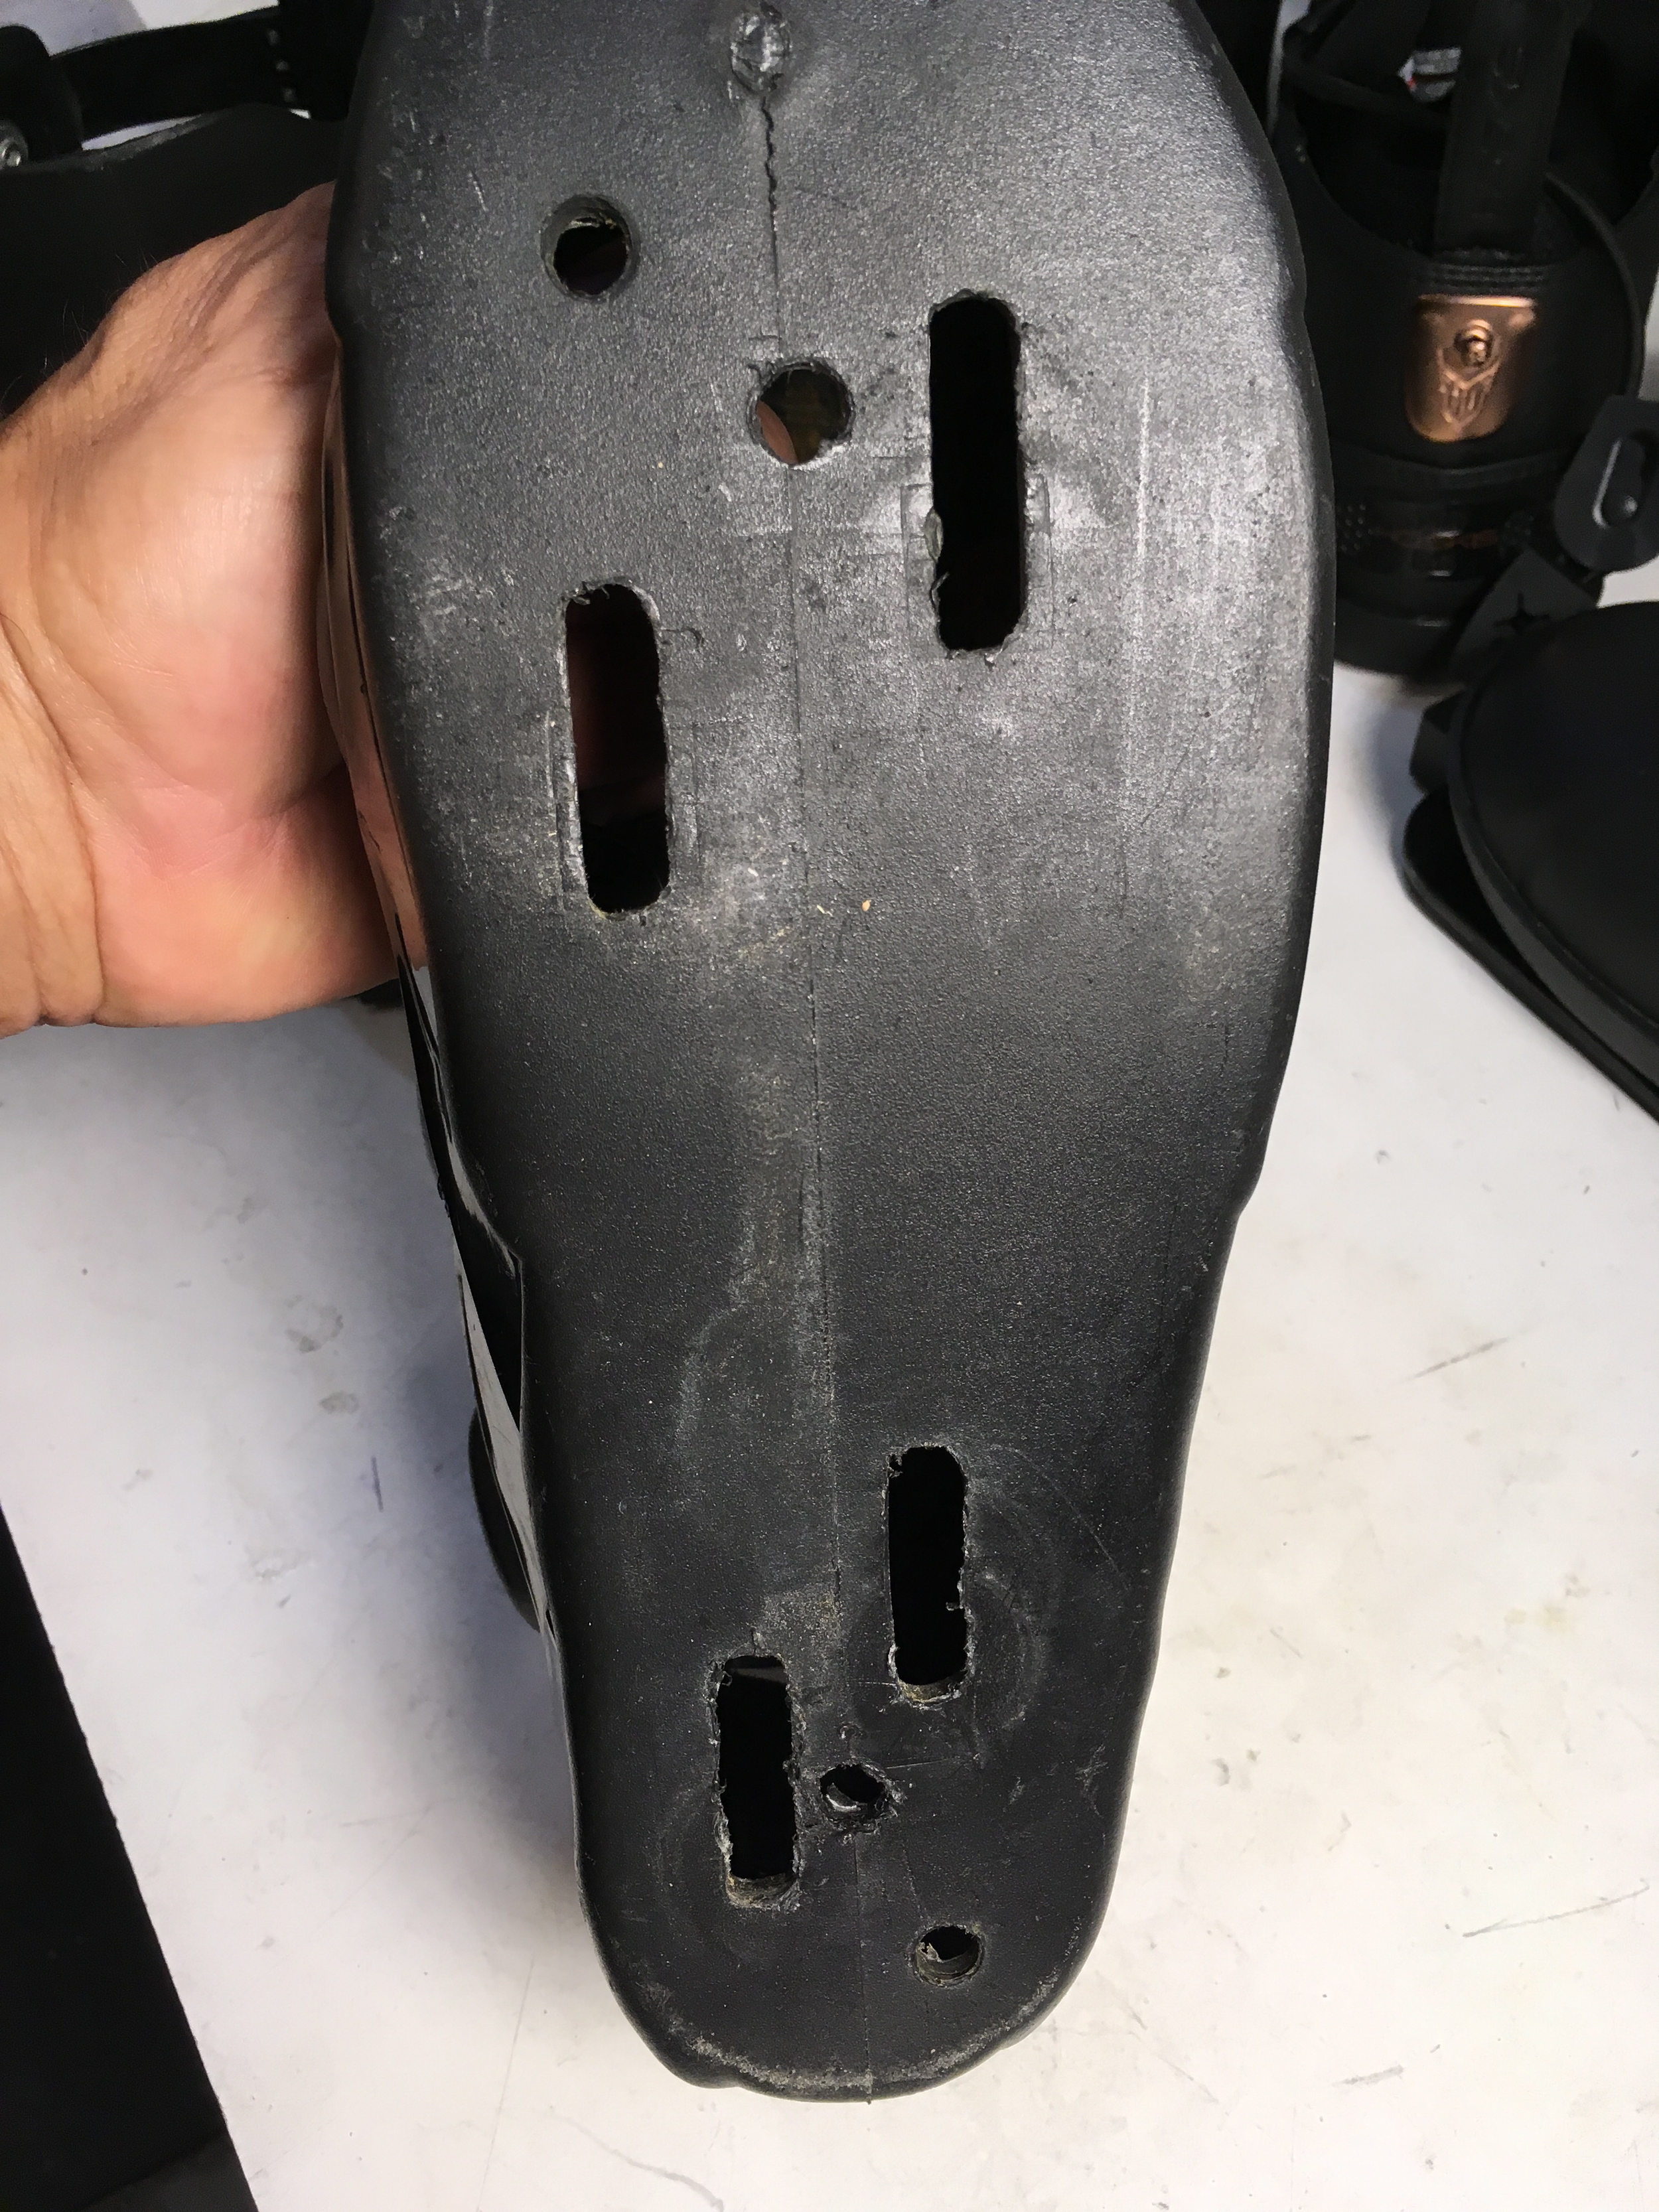
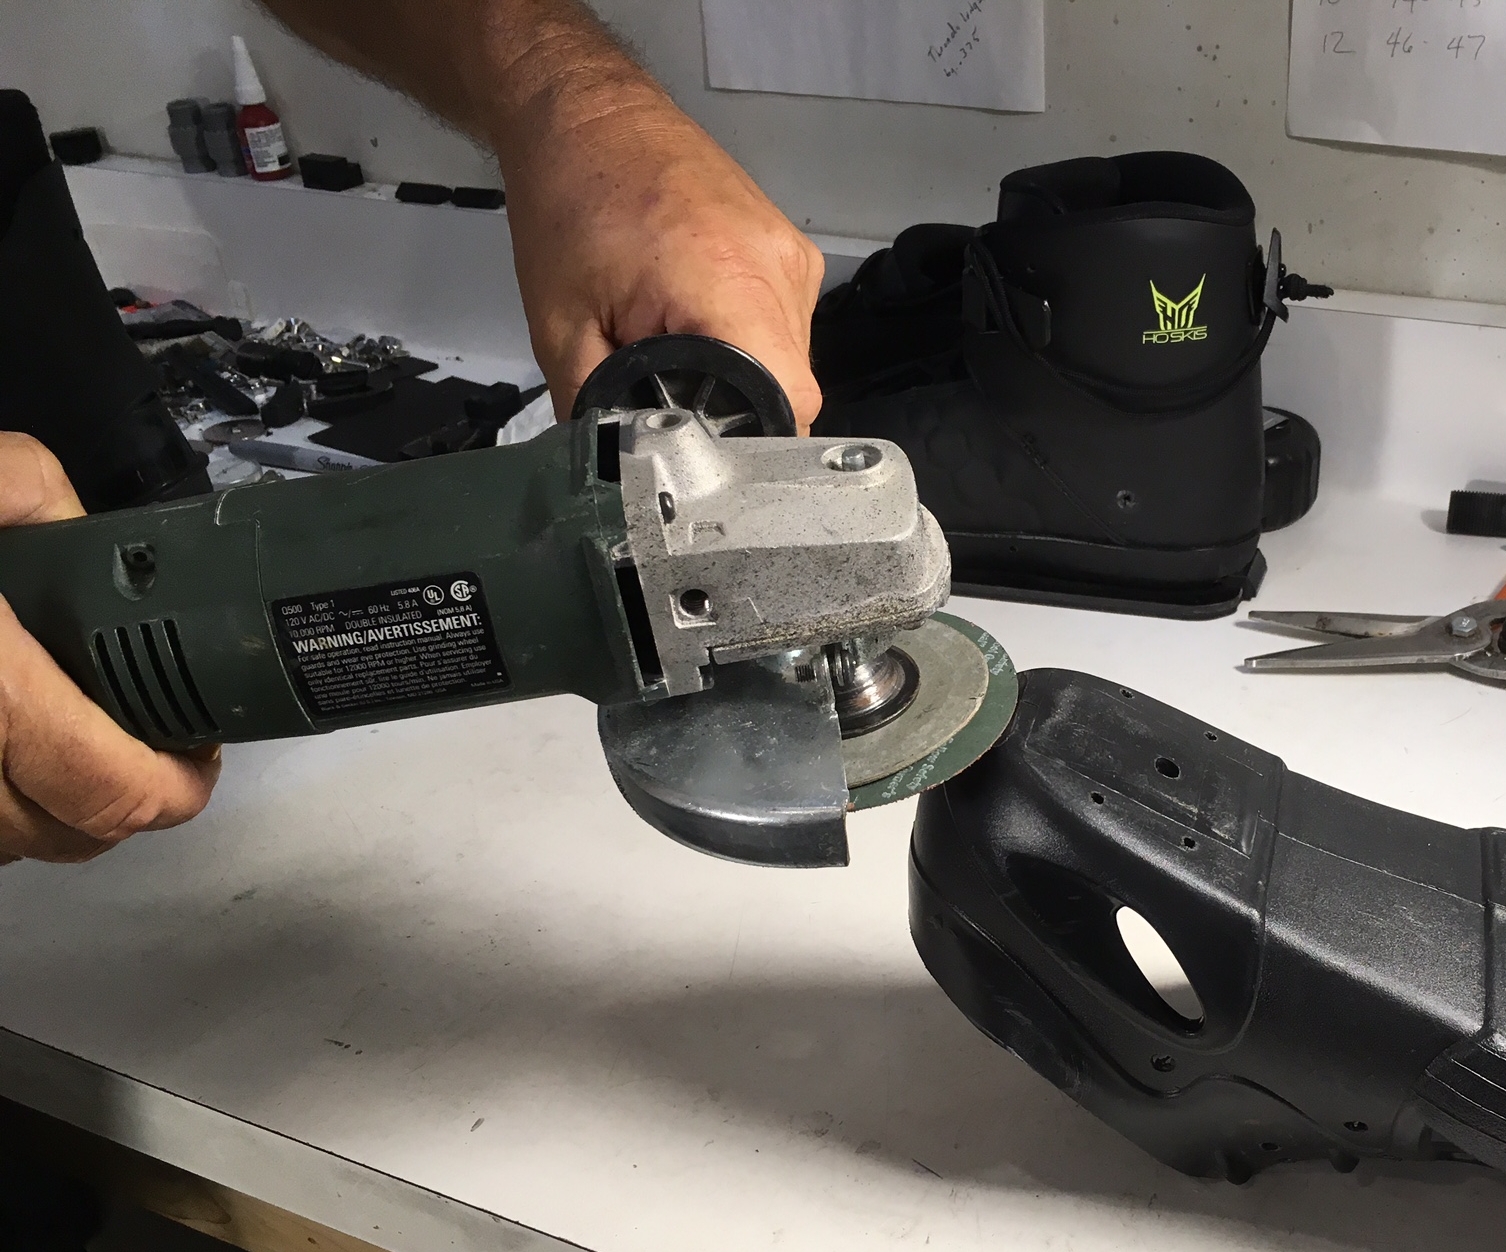
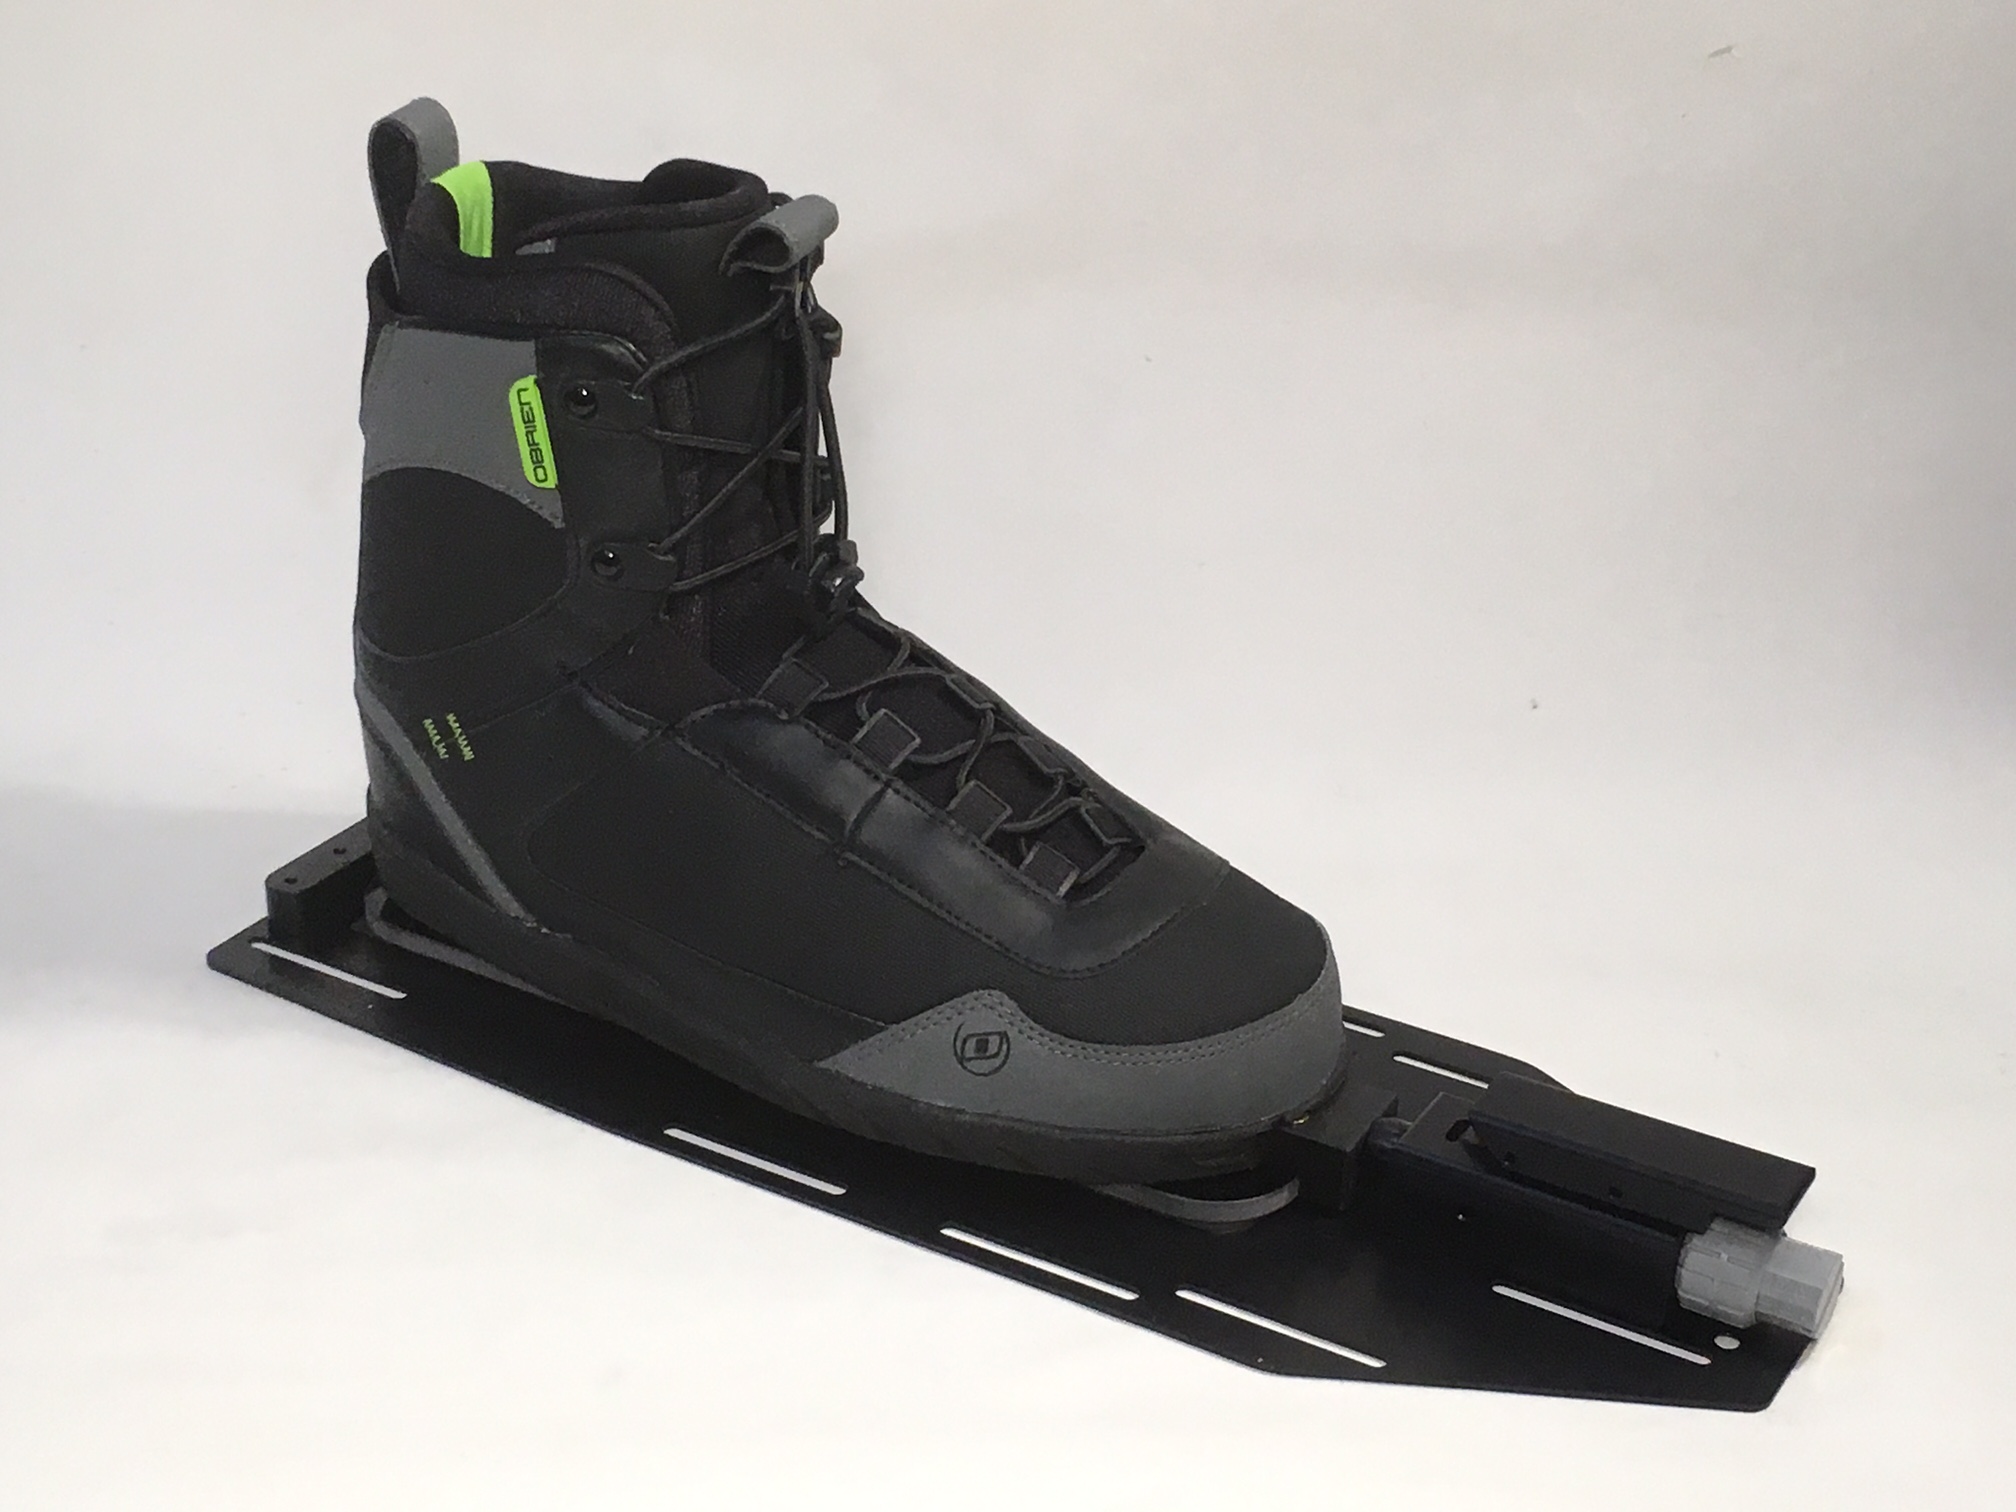
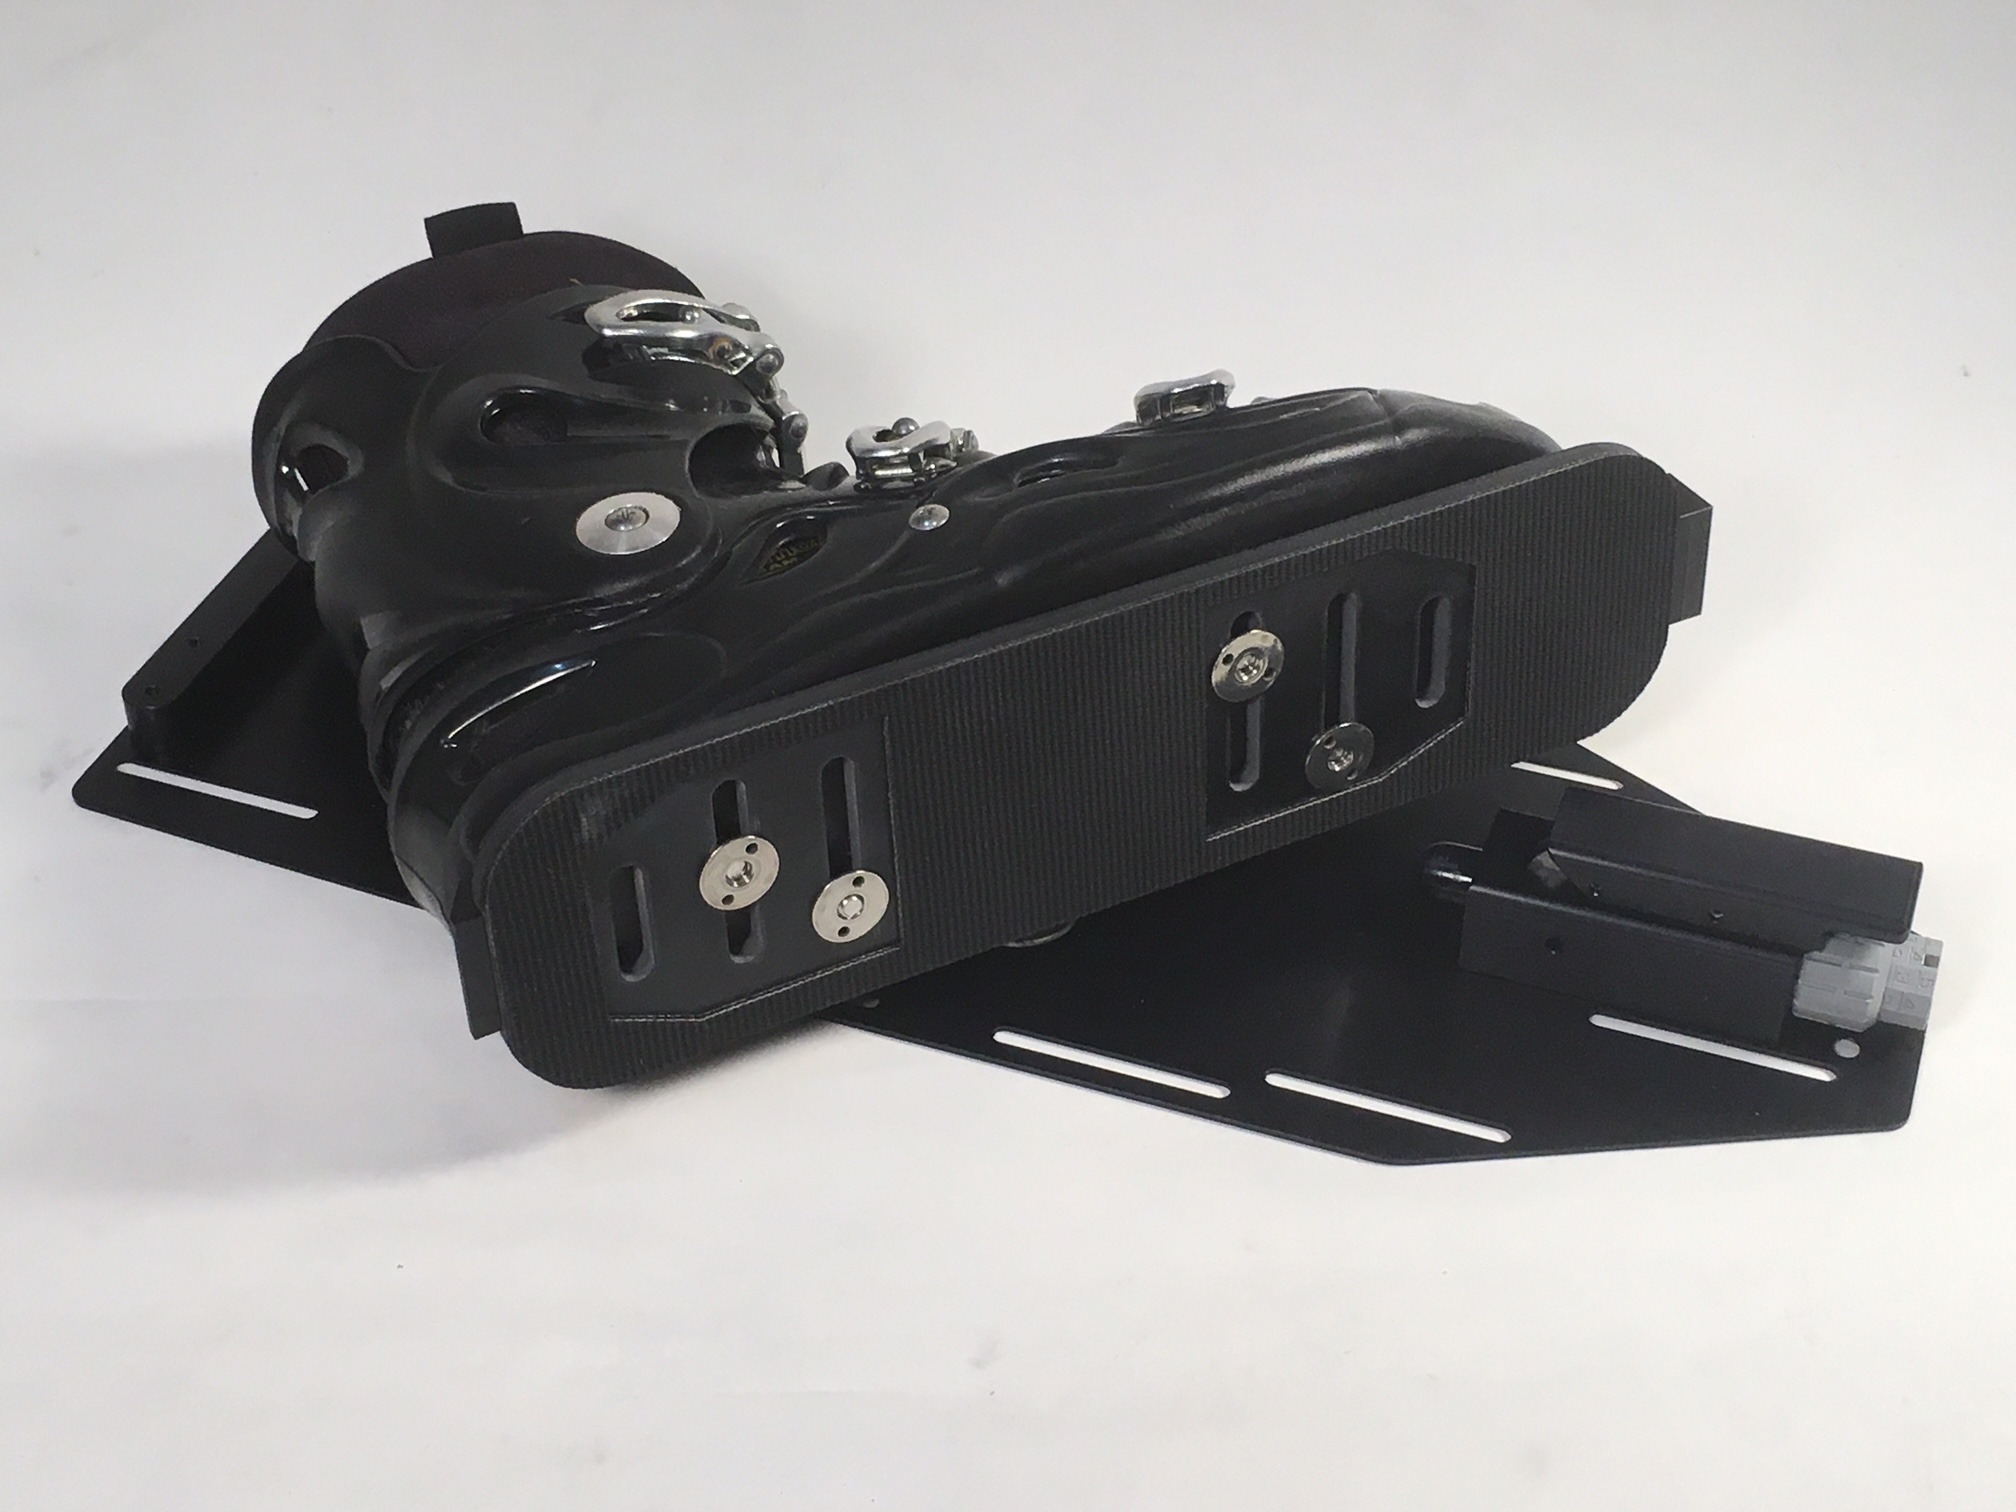
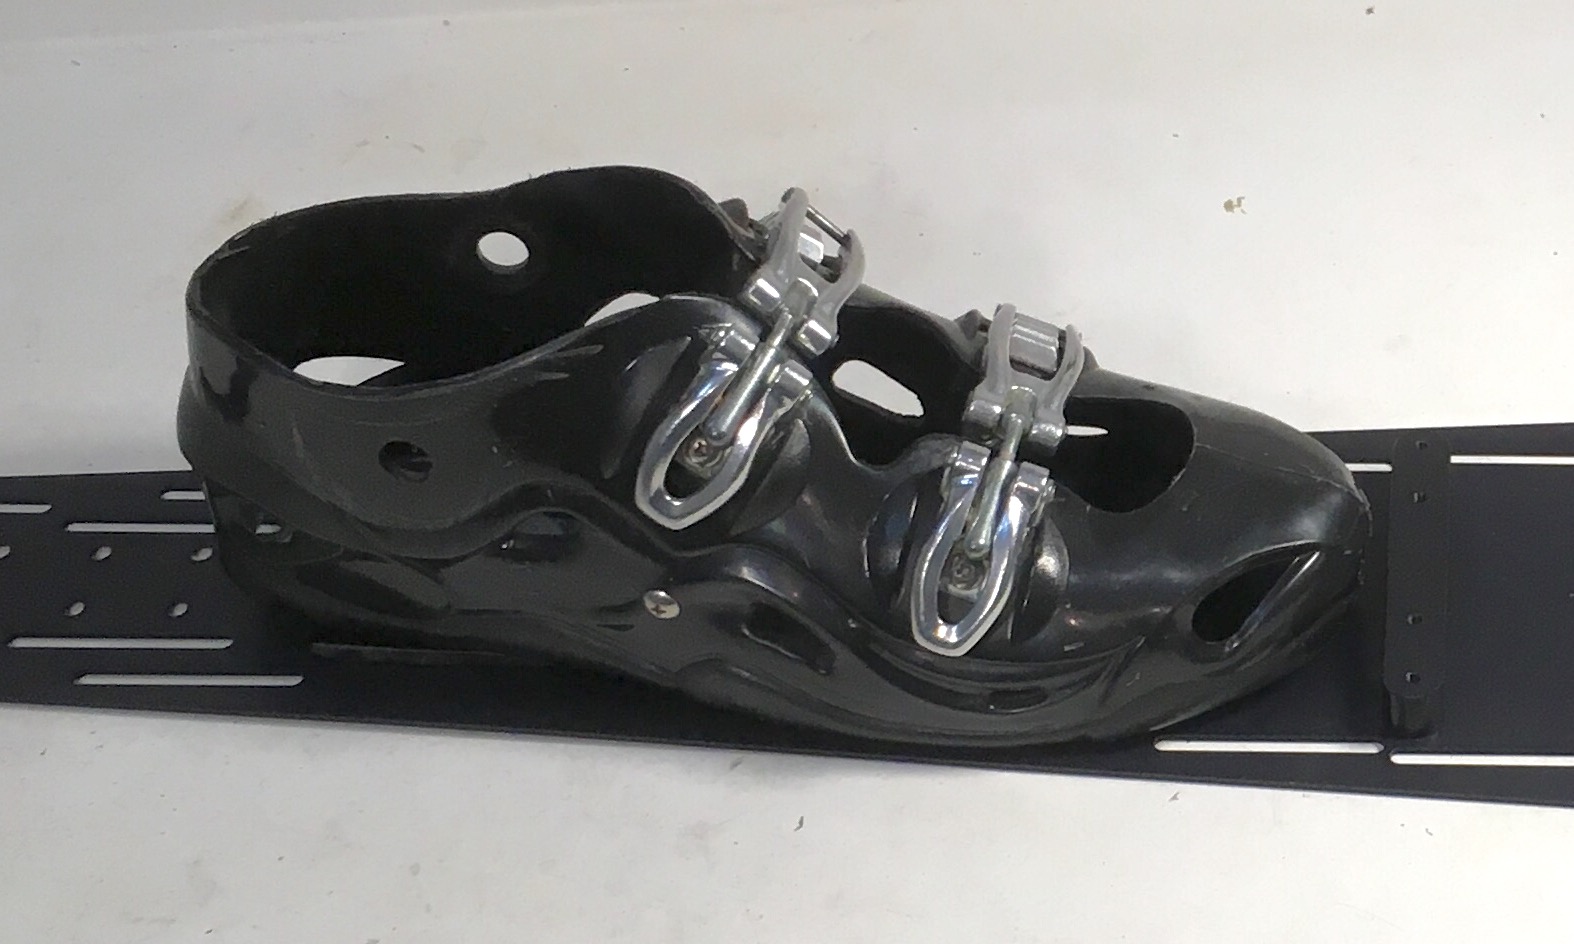
The MOB release system has been installed on a G10 plate which mounts directly to your ski's binding inserts. If your ski insert pattern does not match, you may need to install additional inserts, or modify the mounting plate slots. The spring housing area should be attached with an adhesive material such as 3M Auto Trim Adhesive. This may be used for extended time with careful monitoring by the user.
Before removing your existing bindings, mark the placement of your front boot by measuring from the tail of the ski to the back of the front heel. Place your MOB mounting plate on the ski with boot in place and measure from the tail to the back of the front heel. We recommend that you start with your boot one quarter to one half of an inch back from your previous settings. As you become more accustomed to the increased lateral control and leverage, you can then move your boot forward as needed.
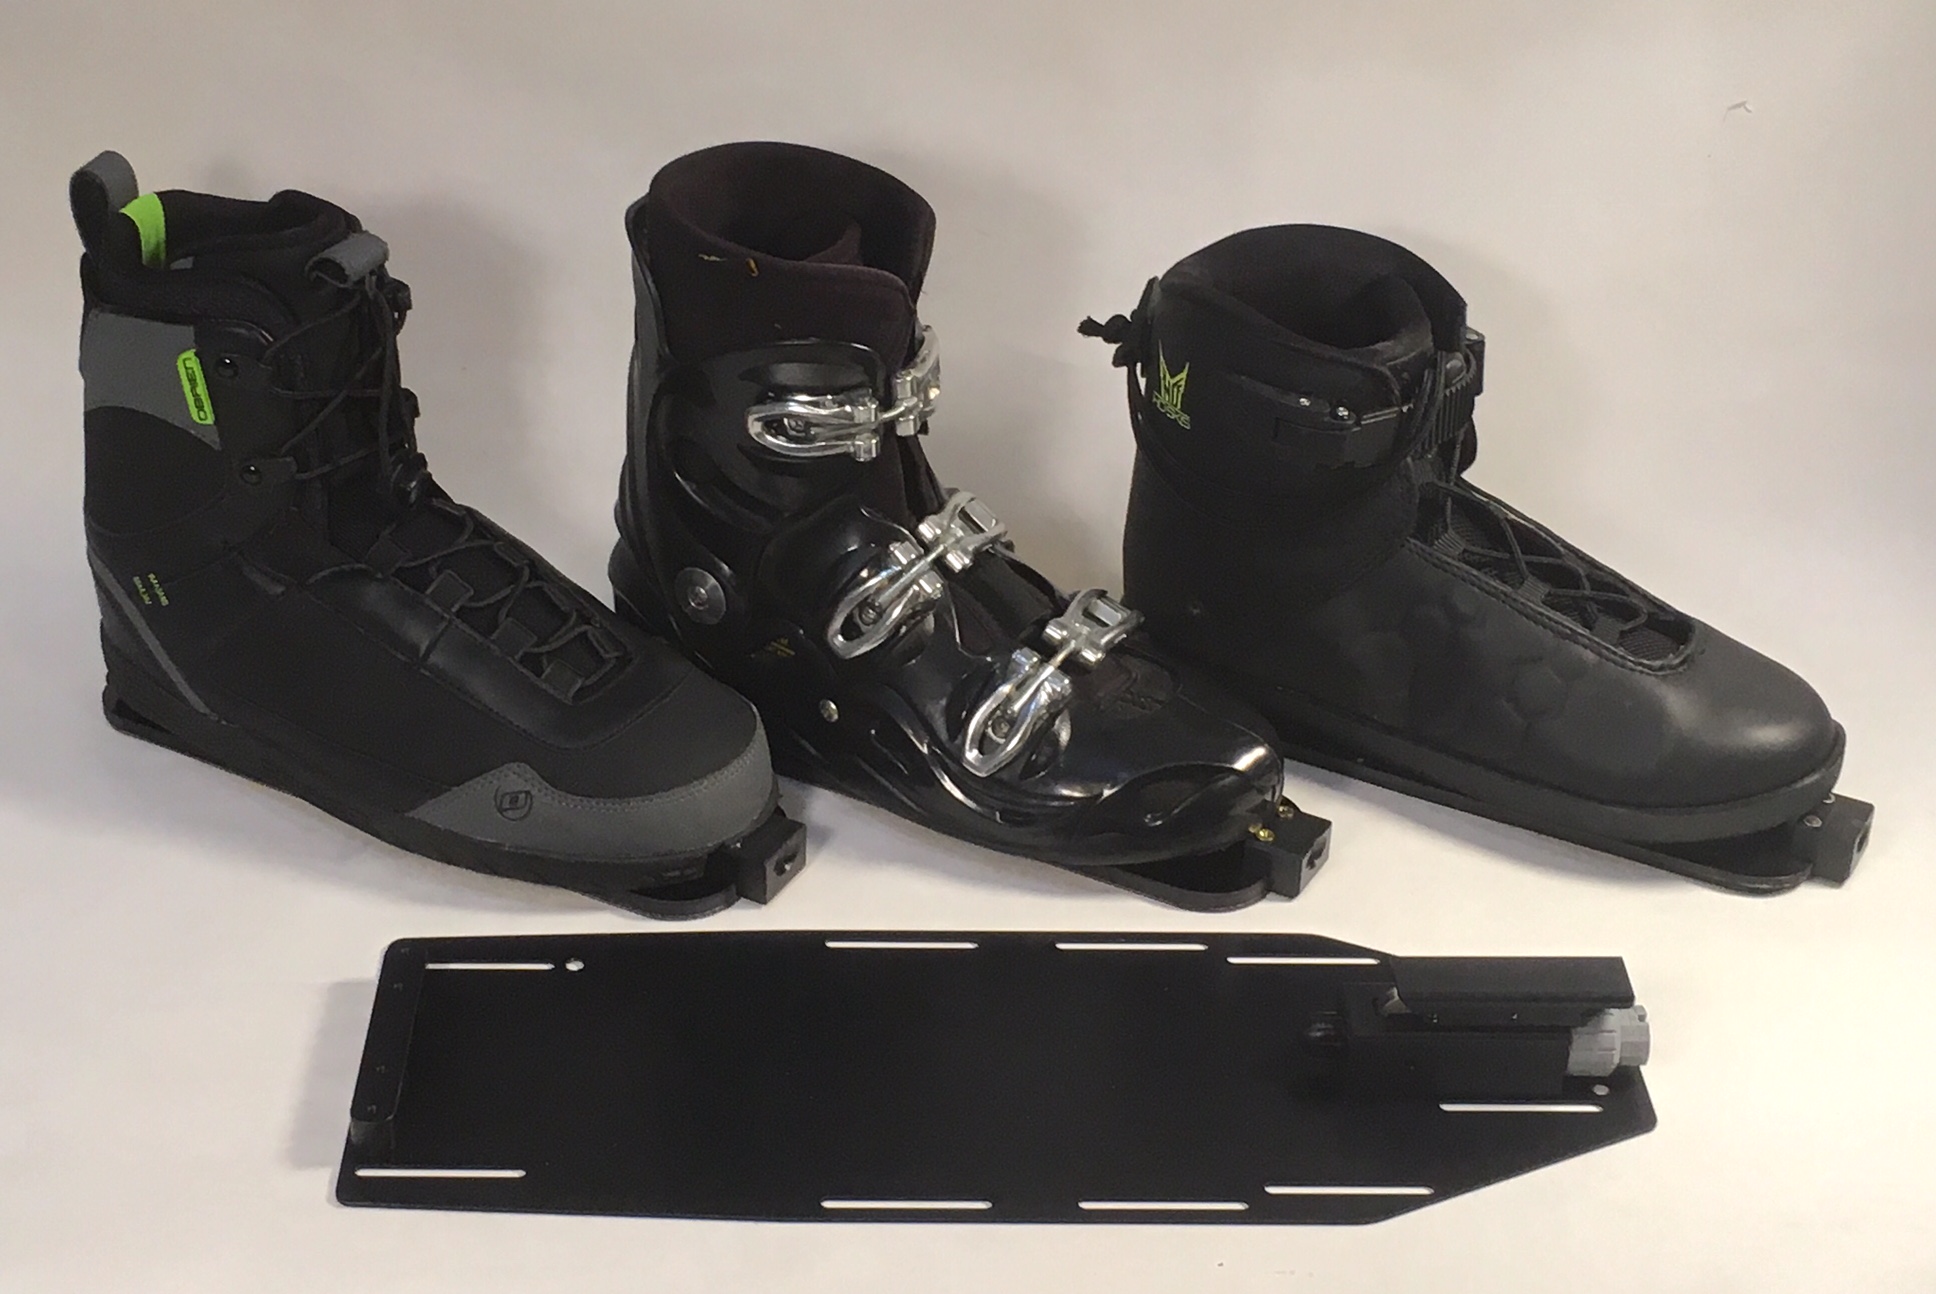
It is imperative that whatever boot you use must remain on your foot during a fall. Failure to do so affects operation of the release. Also, if the boot releases and comes off your foot, it will sink.
If you are using a single boot system, you should not use any type of high wrap boot or binding in the rear, as your rear foot must release at the same time in any fall. The preferred method is to use a rear toe plate/strap or a hybrid style rear plate.
FYI, some things to note... The as with other hard shell systems, the boots do not float, so taking them off in the water is not advised. The releases and mounting plates do not float. Therefore leaving the boots on the ski without your feet in them could cause some skis to sink (some modern skis do not have much flotation built in). Always take the boot off the ski, and then take your feet out of the boot once out of the water. That is what the release lever is for. The system is designed for the boots to be put on first then snapped into the release. That saves balancing on the ski while putting on the boots. Also the liners last longer if you put them into the boots first, then slide your foot in. Be sure the boot is opened wide enough to get your foot in without excessive tugging.
If you have any questions about mounting your MOB product on your ski, please call us for assistance at 678-468-0158. Keep in mind that the use of this product will not totally eliminate the risk of serious bodily injury, and you use it at your own risk. This release system is not recommended for slalom skiers that cannot already successfully run a pass in a slalom course.
Mike’s Overall Binding © July 2016
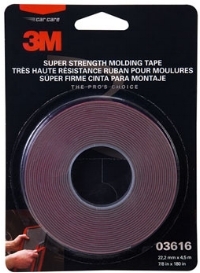
3M Tape for Spring Housing
Tips for mounting your boots